PT58C Customer Display Installation and configuration
PT58C Customer Display Installation and configuration
Physical installation
Place terminal face down on a soft surface / foam pad. 
Remove CD cover on the top of the display to expose the display cable.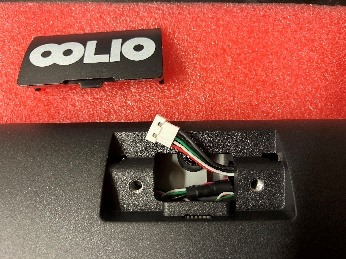
Remove Customer Display from box, screws and tape should be stuck inside box. 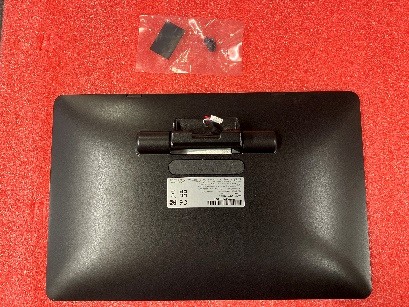
Connect cable, ensuring the wire colours / connector line up correctly. 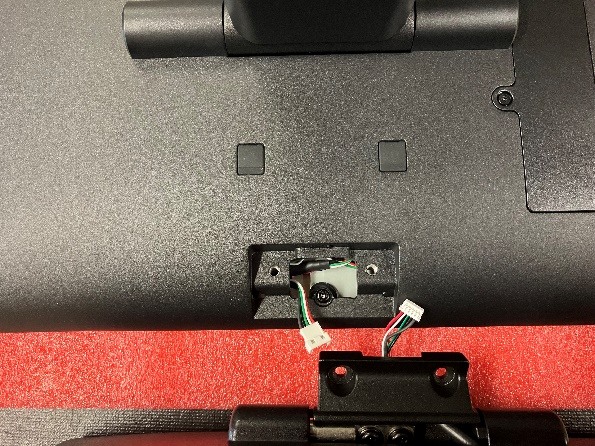
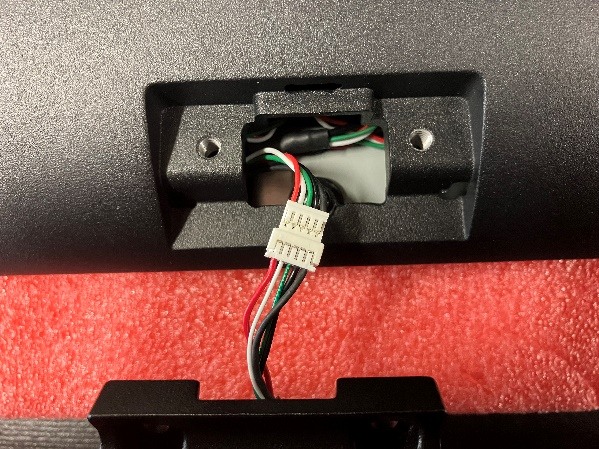
Wrap the fabric tape around the now joined connectors.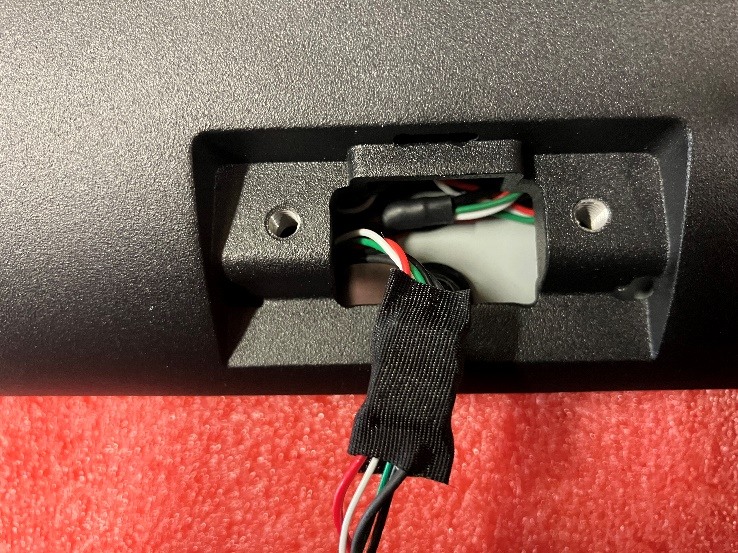
Direct the cable back into the opening so it is not exposed / crushed by the mount base.
Secure with 2 x screws. Firm but do not overtighten. 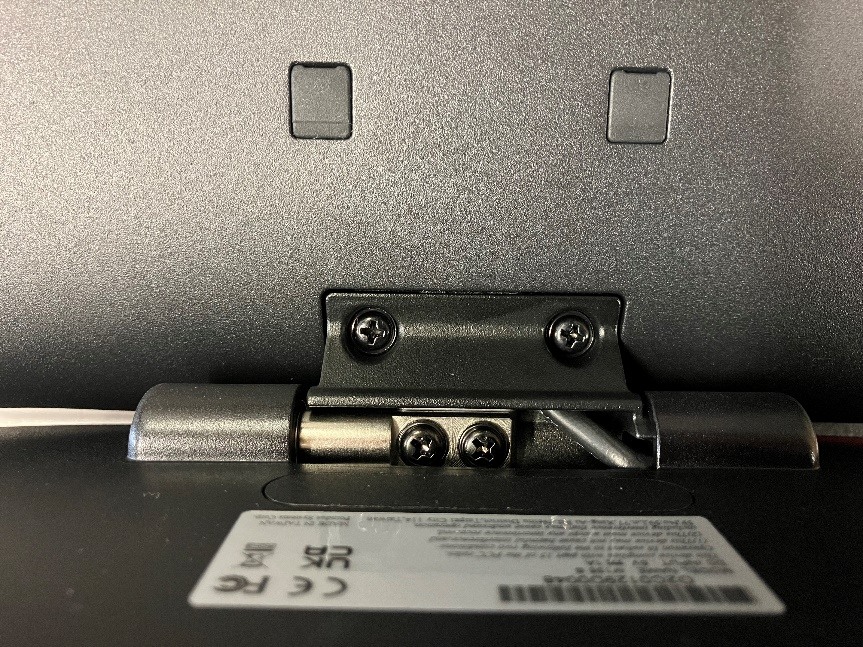
Configuration in Windows
Pre staged systems should have the driver already installed, if adding to an existing machine the terminal will need an internet connection to update the driver.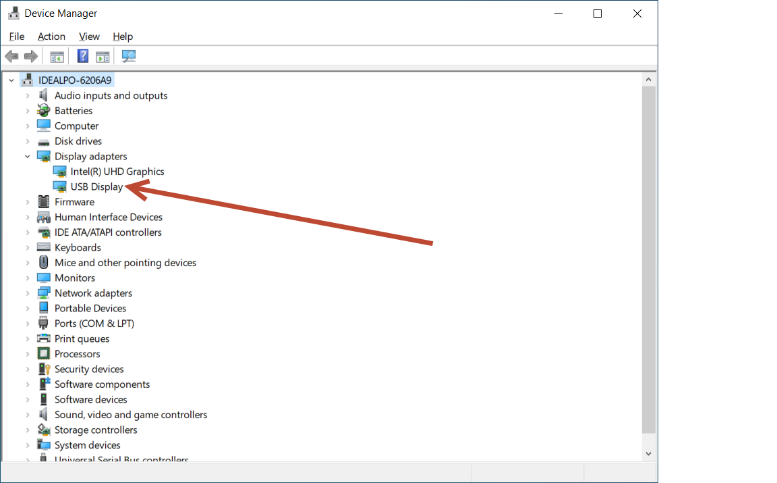
Once driver is loaded the screen should power up and mirror the main screen, touch will be affected so a keyboard / mouse is required.
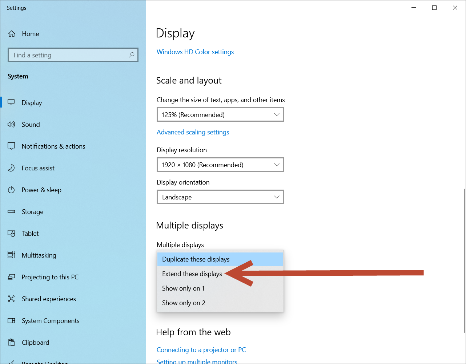
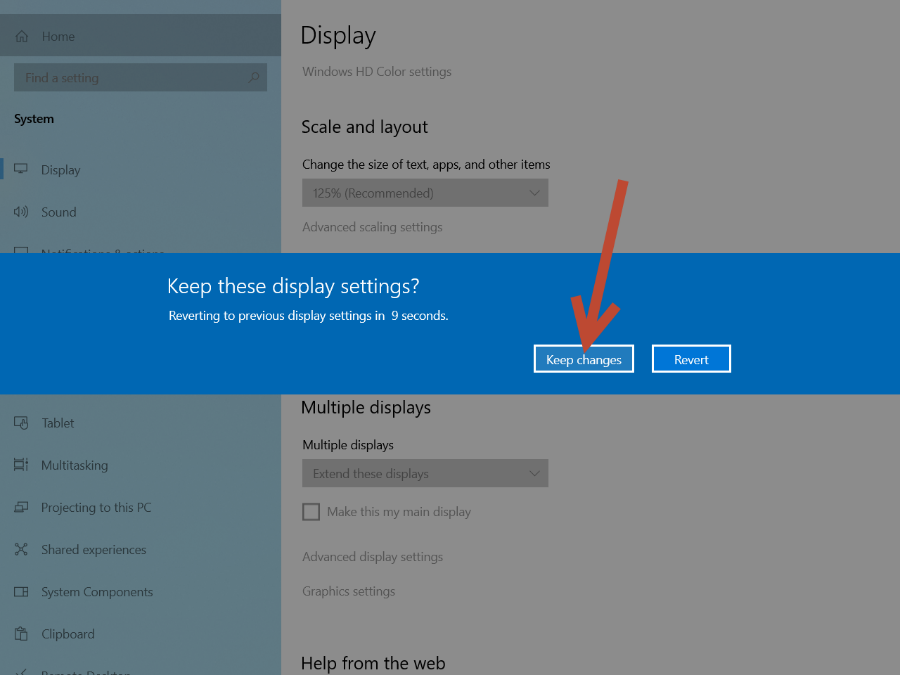
Change display setting to extended (touch functionality will be lost). 
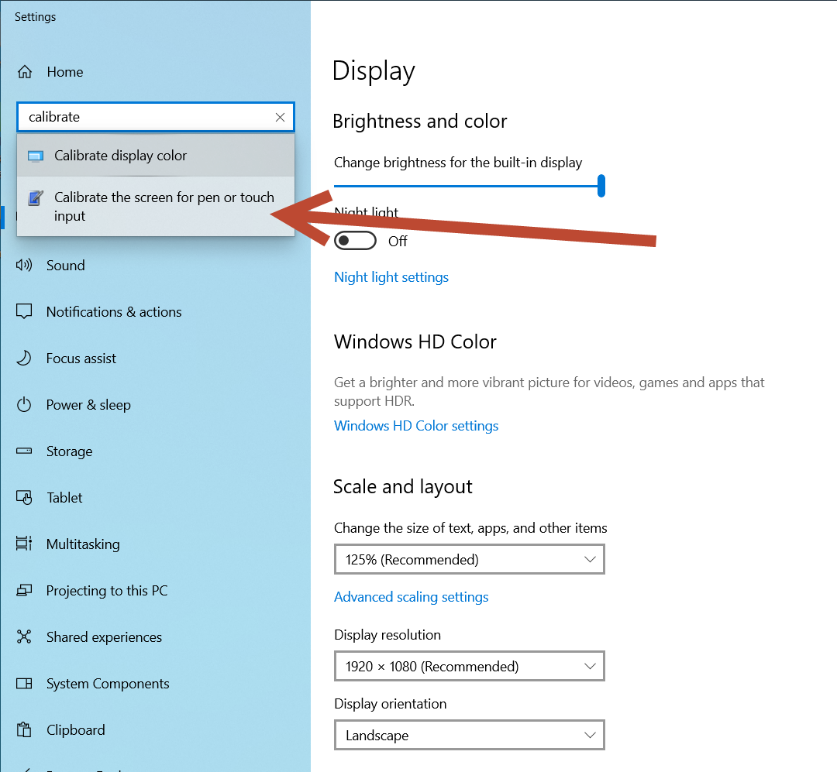
To restore touch screen functionality, open settings and then enter ‘Calibrate screen for pen and touch input.
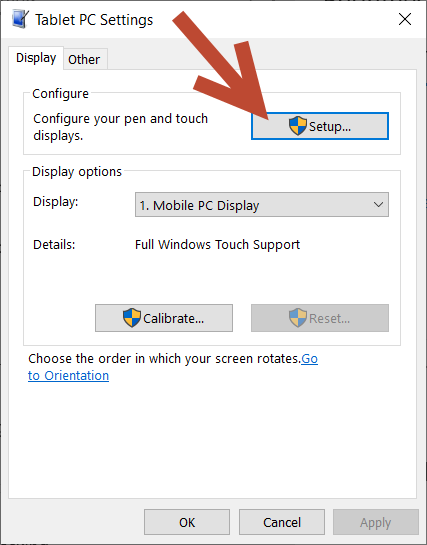
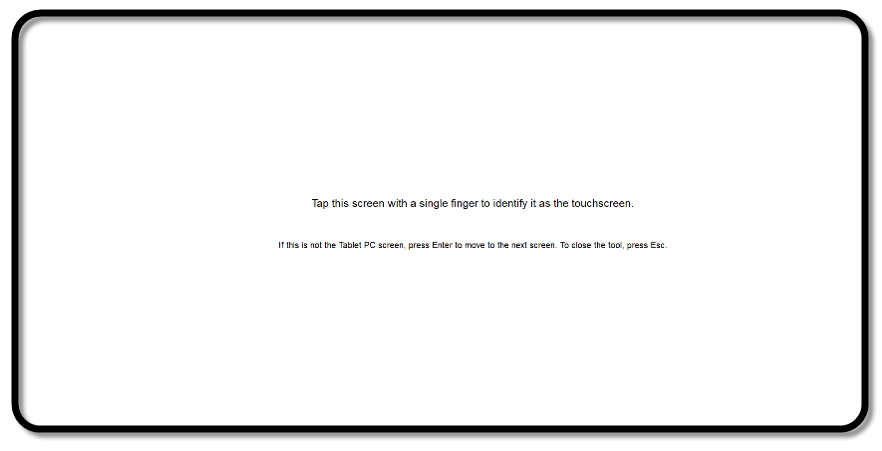
Select SETUP, Press the touchscreen when prompted.