Configuring the Honeywell Scanner for the J1900
Idealpos supplies Honeywell integrated scanners for the J1900. These scanners can be attached to the LHS and RHS of the newer terminals. If you are unsure if your terminal supports this scanner, contact us for more information.
Before attaching, power off the PC.
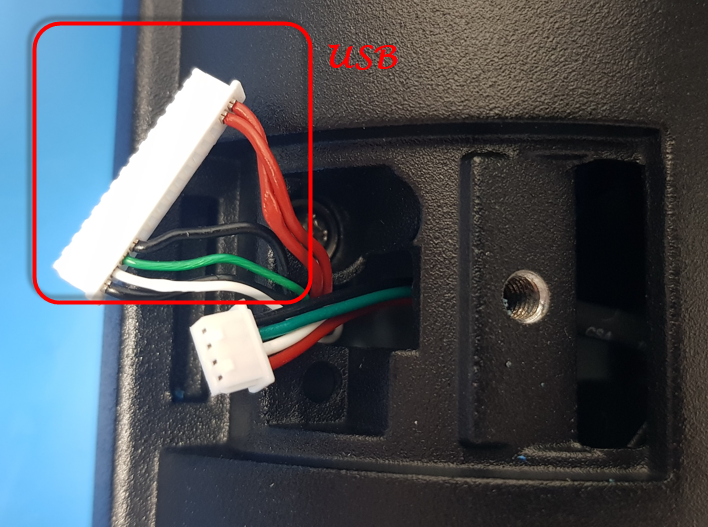
LHS
RHS
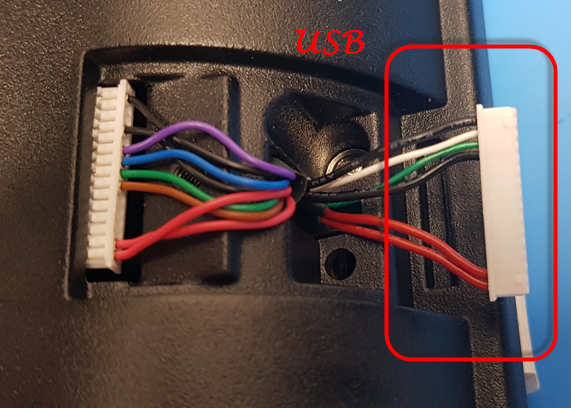
Connection
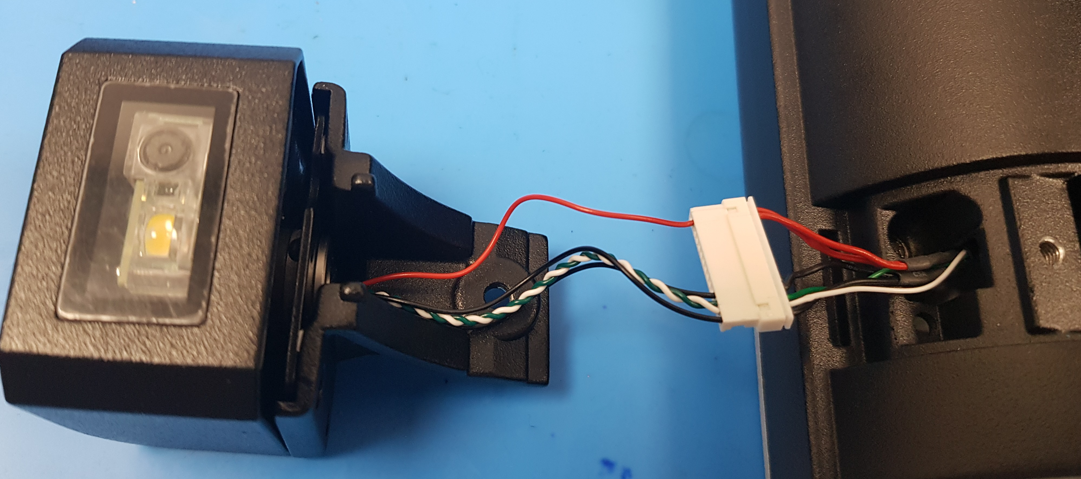
After successful attachment:
1. Power on the PC.
2. Download the ZIP archive from this link:
https://idealpos-my.sharepoint.com/:u:/g/personal/gerry_loiacono_idealpos_co/EYz2_SY3PlZAhOruJPiMe5IBERQmU-UKqBAFdlxDvTA64A?e=RvlvXe
3. Copy the EZConfig-Scanning v4_v4.5.44_Setup.exe and the ConfigSettings.exm file to a folder on the PC.
4. Run the EXE file (the configuration program opens in a browser window). You may need to select Allow blocked content or Allow scripts to run in your browser.
5. Click CONNECTED DEVICE:
6. Click CONFIGURE DEVICE: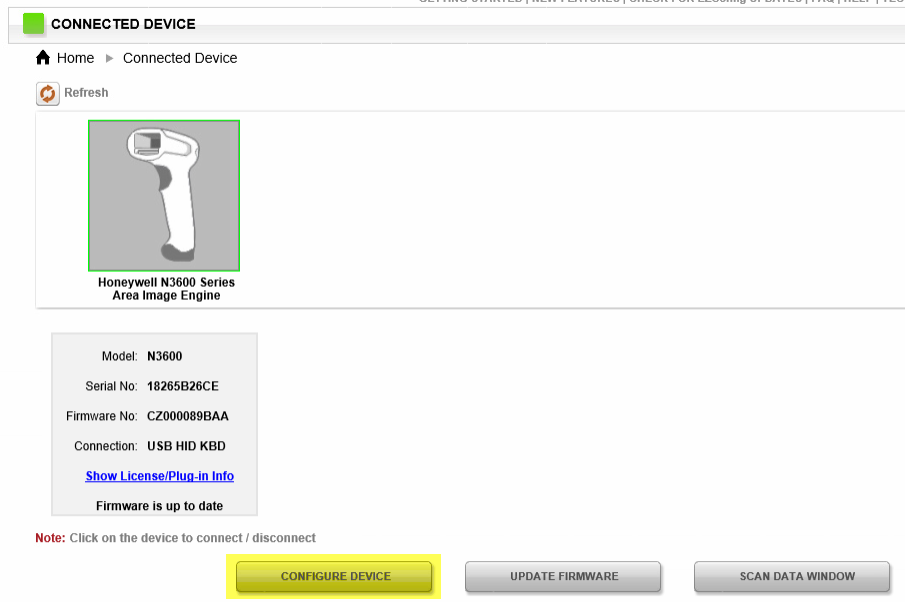
7. Click DATA FORMATTING: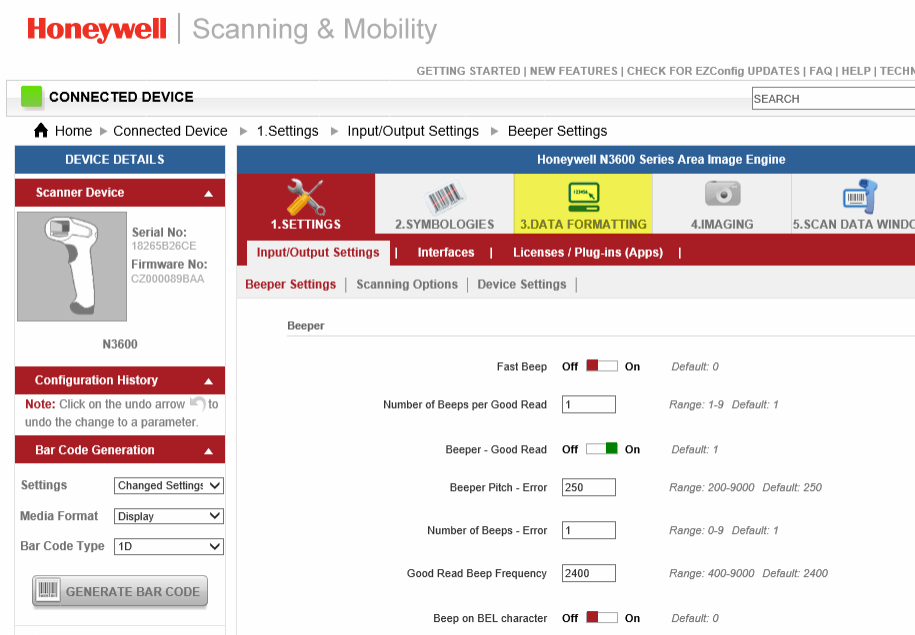
8. Click OPEN CONFIG: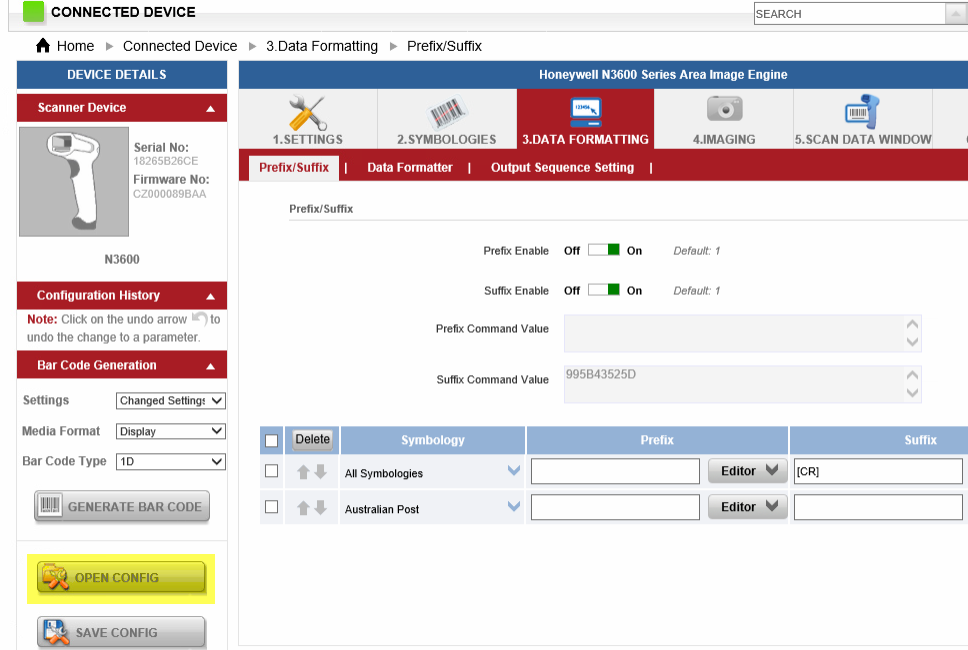
9. Browse to the ConfigSettings.exm file, select it, and click Open: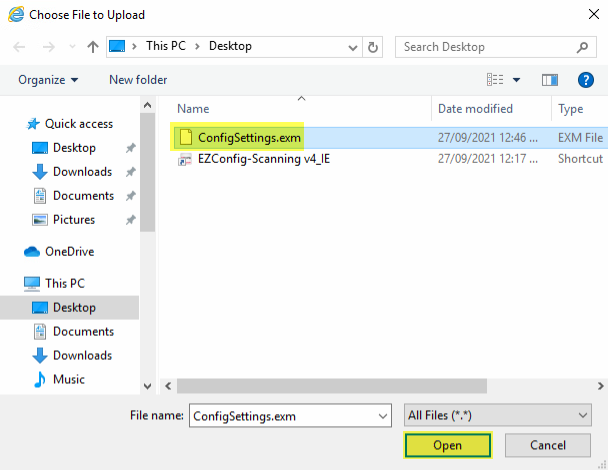
10. Click SAVE TO DEVICE:
The scanner is now ready for use. It reacts instantaneously when a barcode is placed in front of it and will scan the item into Idealpos (or a Notepad document as a test).