Adding a new terminal to a Site
This tutorial explains how to add a new POS terminal to an existing site. In this example, we have assumed that the site has only one POS terminal (POS 1) and we are adding POS 2).
1. On POS 1, go to Setup > POS Terminals.
2. Press Add.
3. Add a Description: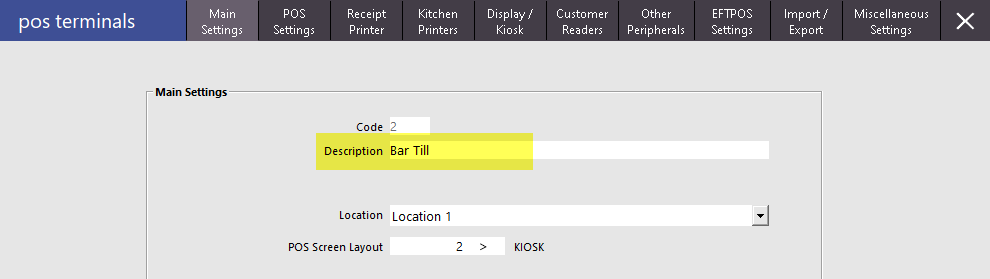
4. Click X in the upper right corner to Close the form.
The second terminal is now listed:
5. Click X in the upper right corner to close the form.
6. Go to Setup > Networking.
7. Enter the static IP address of POS 2, then click OK and X.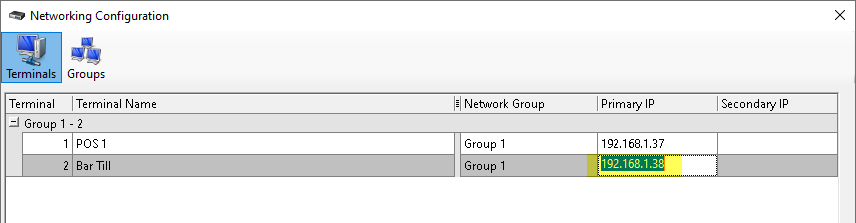
8. On POS 2, in Setup > Licence Gateway, ensure that it is set to POS 2: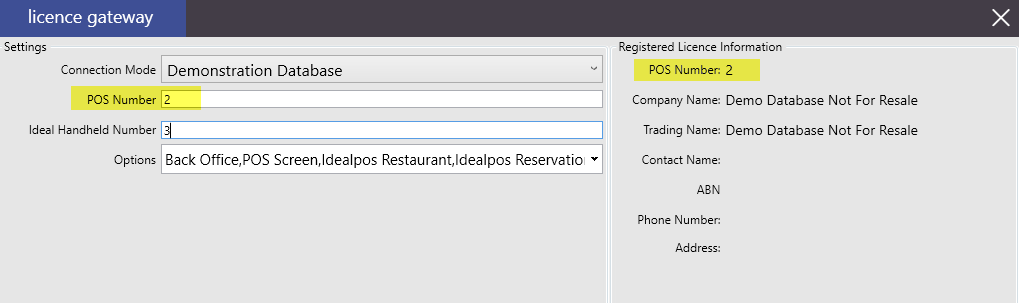
9. Click OK.
10. The database on POS 2 needs to be set to the information at this site. This is done with an overwrite from POS 1 to POS 2.
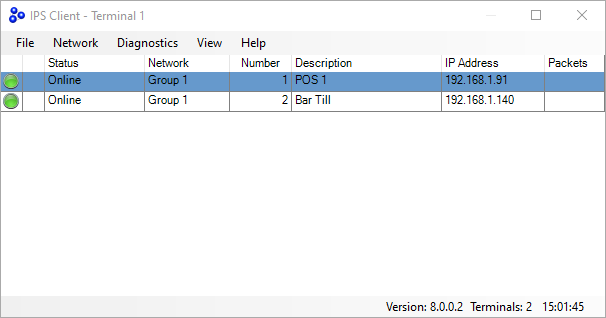
On POS 1, double-click on the IPSClient icon in the Taskbar: 
11: IPSClient displays. 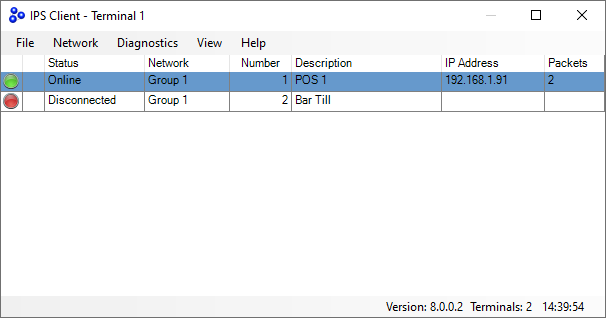
12. Select Network > Overwrite > Standard.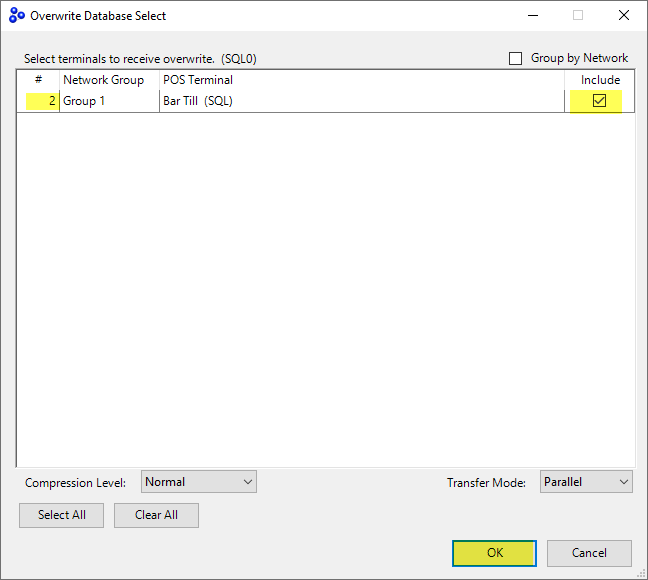
13. Tick Include for POS 2, and then press OK.
The overwrite process begins and can take from 1 minute to 30 minutes or more depending on the size of the source database on POS 1.
During the process, the source terminal (POS 1) displays a progress bar: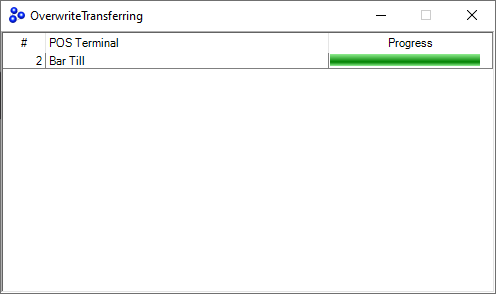
The destination terminal displays an Overwrite in Progress dialog:
When completed, IPSClient displays both terminals as online (green):