WooCommerce Plugin Configuration Webit 4
1. Once you have your download of Webit v4 right click on the file and install or run as administrator.
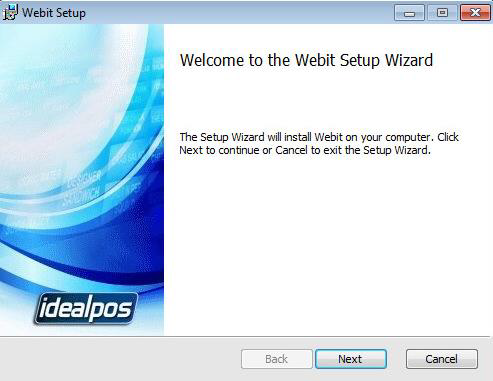
2. Click next on the install window
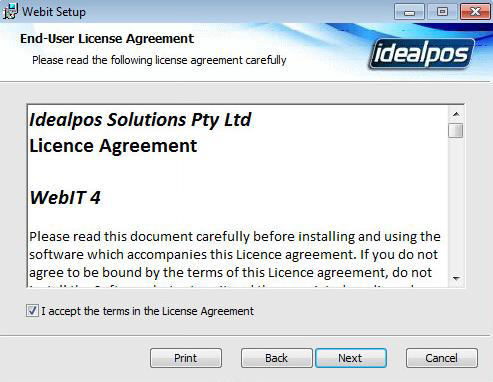
3. Click accept to the terms and license agreement and click next.
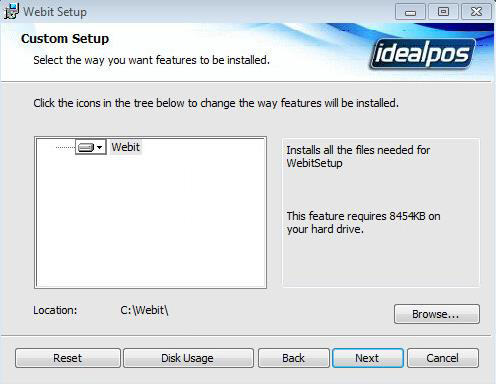
4. Make sure the install is set to the default location of C:\Webit and click next.
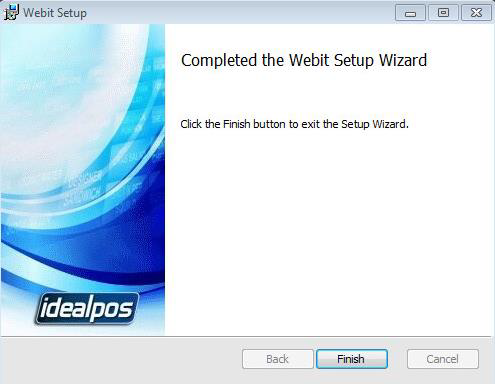
5. Once that is done click finish and the install is complete
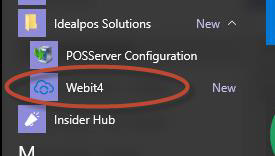
6. Click your start button and browse to the Idealpos Solutions then Webit or if you are using
Windows 10 click on the start button click on all apps the Idealpos Solutions.
 .Windows 7
 .Windows 10
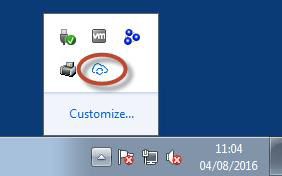
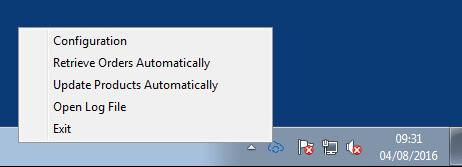
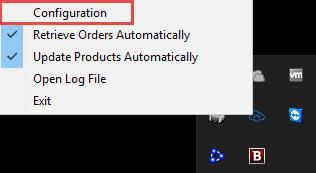
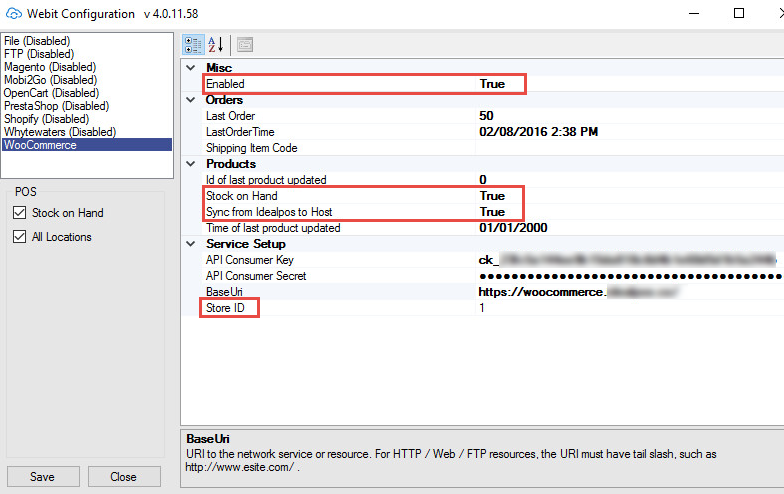
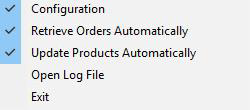
8. If you right click on the cloud icon you will see the Webit menu. To start you will want to click on
configuration.

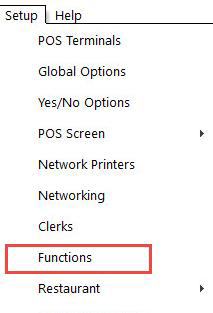
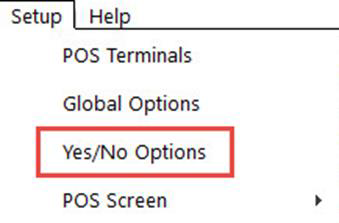
9. You will need to create a tender for online payments to be processed. In Idealpos go to setup and
click on functions.
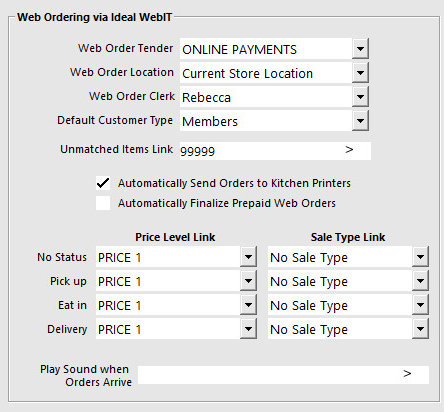
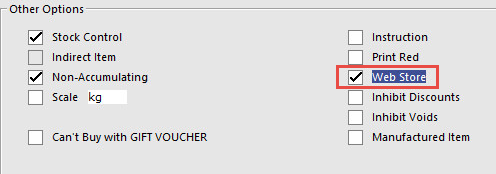
10. Select the next blank tender and click modify and rename it to ONLINE PAYMENTS or a name of
your and tick SHOW IN BANKING.
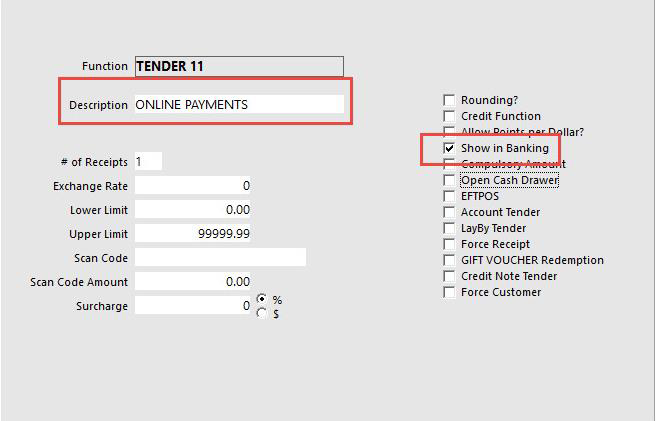

Scroll further down to un-tick inhibit ONLINE PAYMENTS.

13. Next you will find the Webit icon in the system tray in the bottom right hand side of the screen
where your clock is located

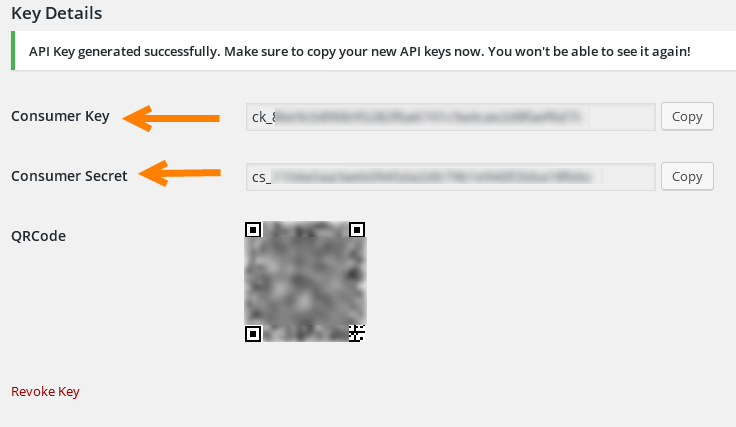
16. You will need some information from you Woocommerce admin page. This usually can be found
at www.{YOURWEBSITE}.com/wp-admin
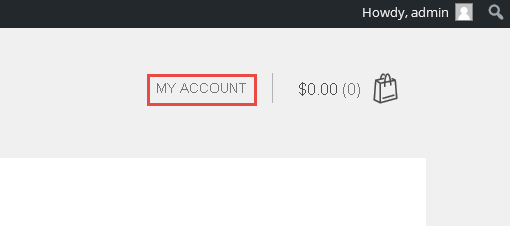
17. Once at your site in the top right-hand corner of the site click on the MY ACCOUNT button and
login.
18. Once logged into your site go to the top right hand side of the page and click on My blog.

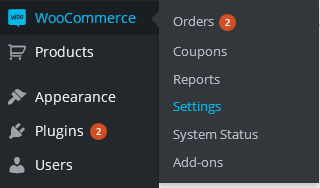
19. Once you are in my blog look down the right hand side until you find WooCommerce. Then go
across and click on settings.
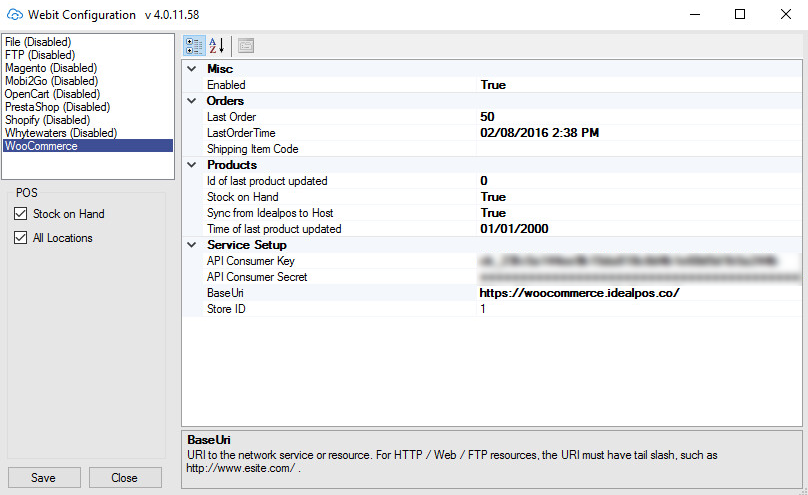
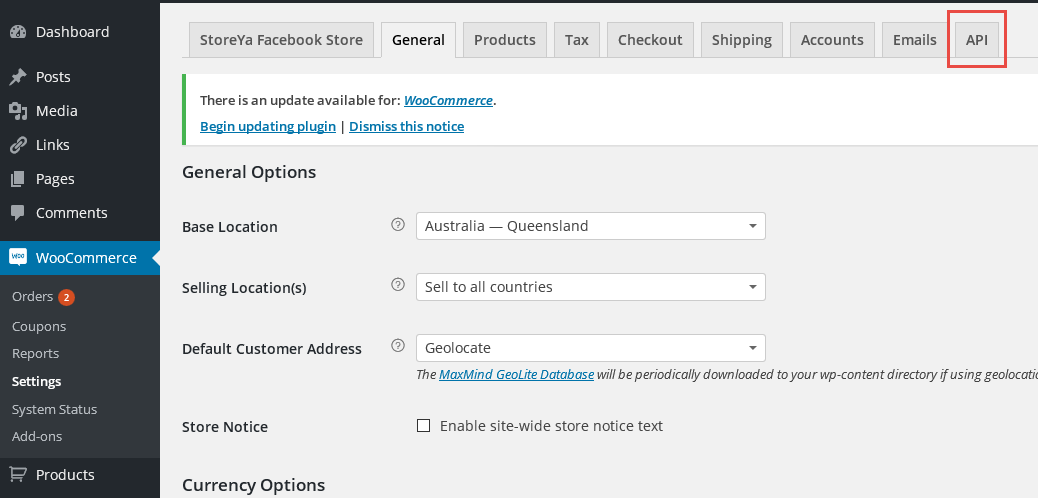
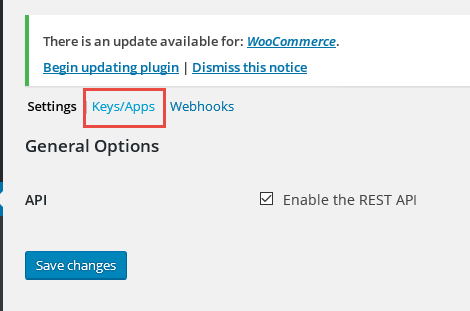
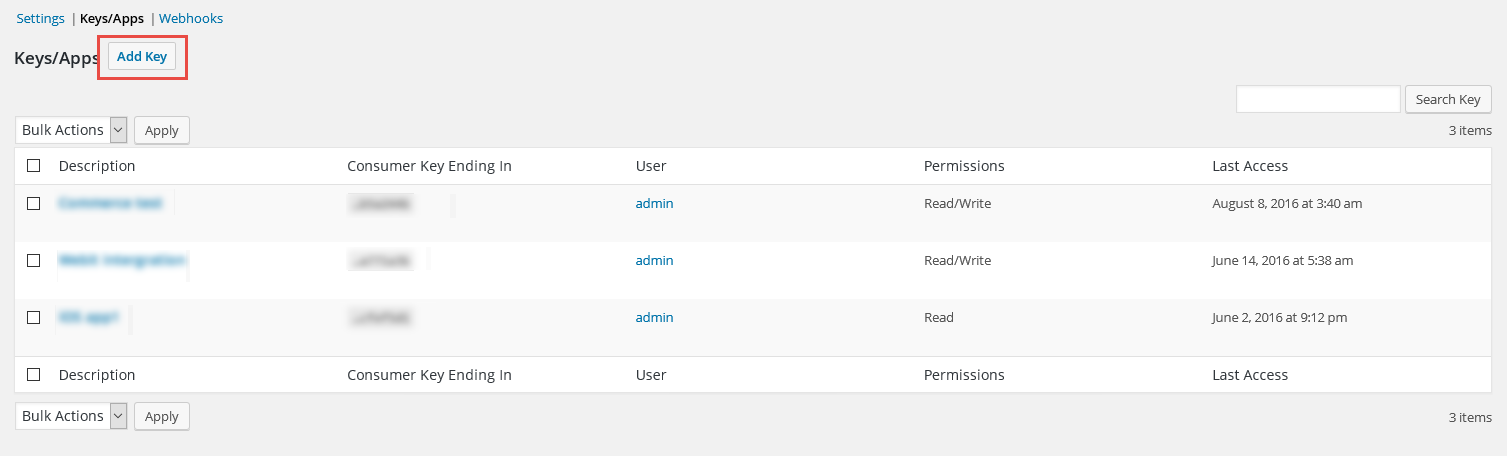
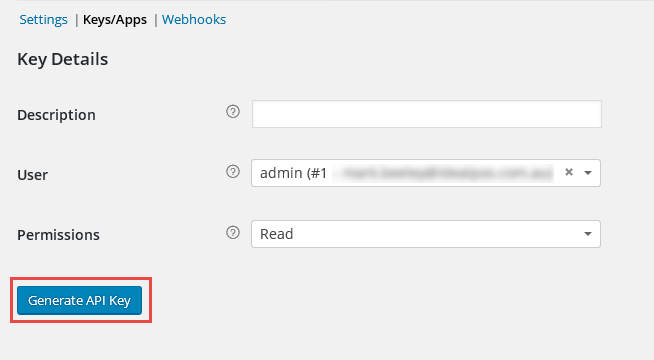
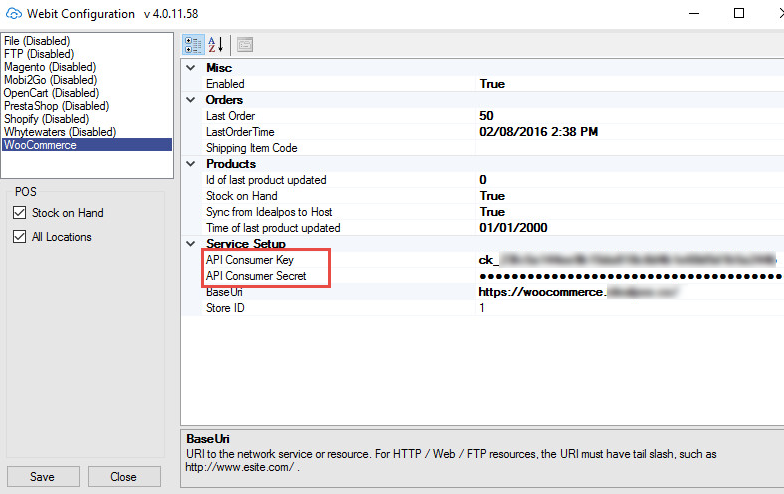
20. Once in settings click on API tab found at the top of the page.

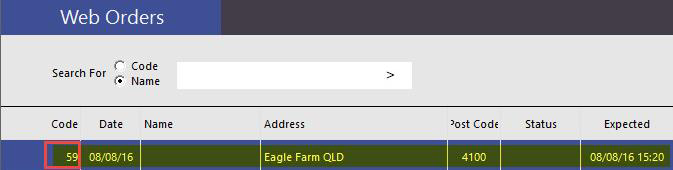
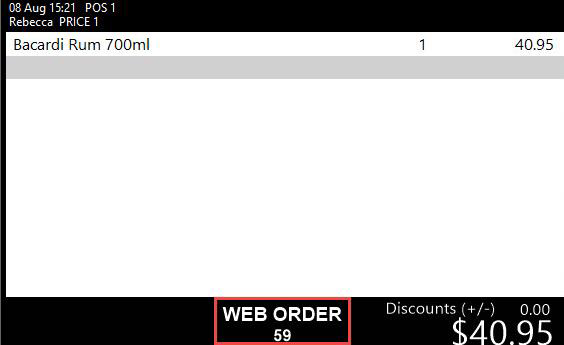
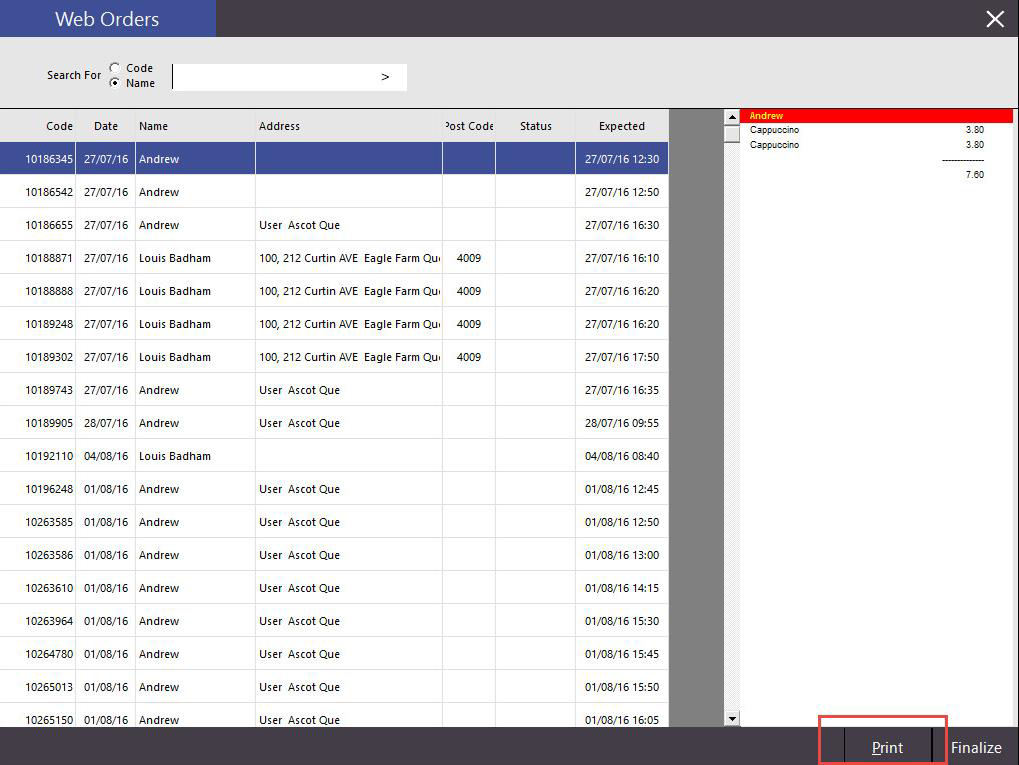
30. Once in the web orders screen you can see the web order that is waiting to be finalized. The
code represents the web order and flows through the complete order from webit to pos to receipt.