Mobi2go Plugin Configuration - Webit 4
**IMPORTANT NOTE** No Site should be using this interface method anymore with Mobi2go, all sites should be migrated to Idealpos Online eCommerce API for Mobi2go.
Mobi2go is a hospitality ecommerce order ahead platform. For more information on Mobi2go please go to www.mobi2go.com.au. Below are instructions to install & configure Webit 4 on Idealpos 7.
Instructions are as follows to configure Idealpos:
1. Go to Setup > Global Options
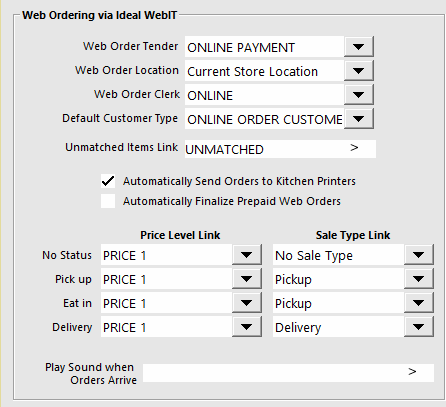
2. Create a Tender to be used when the order is prepaid Online
3. Select the location where the transaction will be recorded
4. Select the Clerk in which the Paid Web Orders will be recorded against when paid online
5. Tick Automatic Send Orders to Kitchen Printers
6. If Automatically Finalize Prepaid Web Orders is ticked this will result in orders being completed automatically when they are received into POS.
7. The various status can be configured to use Sale Types &/or Price Levels
8. Default Customer Type - When an order is received, we save the customer into the POS Database, this option allows the venue to specify which customer type the customer is saved.
9. Play Sound when Order Arrive - Allows you to specify a sound file to be used when an order is received.
Instructions are as follows to configure Webit:
Download Webit 4 from the reseller download area of www.idealpos.com.au
1. Install or run as administrator.
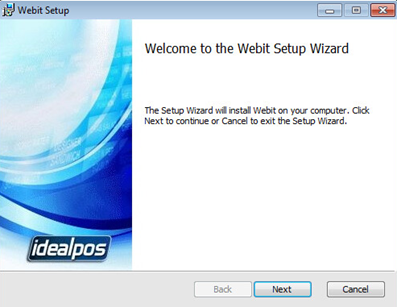
2. Click next on the install window
3. Click accept to the terms and license agreement and click next.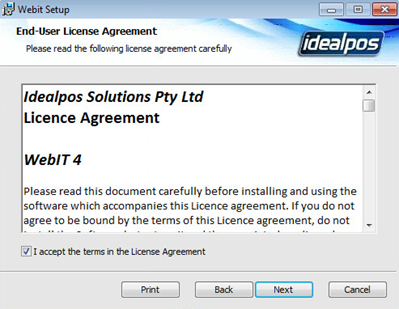
4. Make sure the install is set to the default location of C:\Webit and click next.
5. Once that is done click finish and the install is complete. 
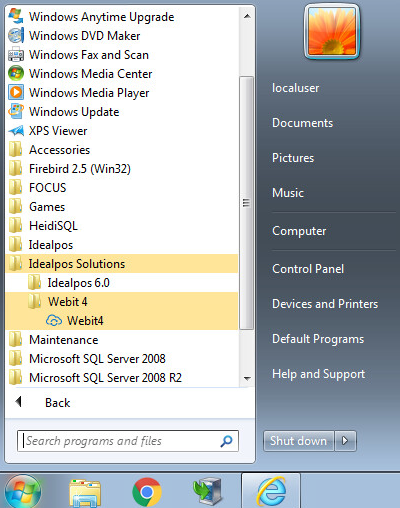
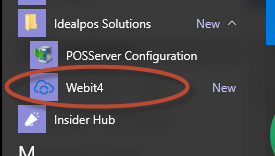
6. Click your start button and browse to the Idealpos Solutions then Webit or if you are using Windows 10 click on the start button click on all apps the Idealpos Solutions.
Windows 7
Windows 10
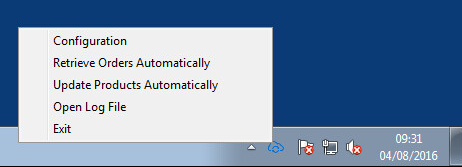
7. Next you will find the Webit icon in the system tray in the bottom right-hand side of the screen where your clock is located
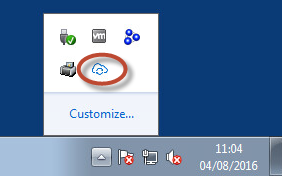
8. If you right click on the cloud icon you will see the Webit menu. To start you will want to click on configuration.
9. Once the configuration window opens you will see the Webit plugins that are available to be configured. As a default they are all disabled. Click on Mobi2go in the left-hand panel to open the Mobi2go settings panel to the right.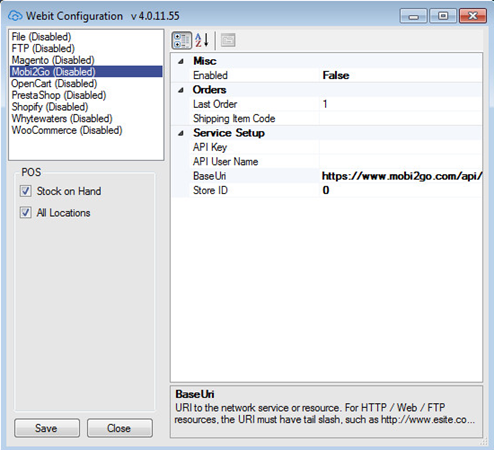
10. You will need obtain information from you Mobi2go admin page. This usually can be found at www.mobi2go.com/admin Enter your registered email and password.
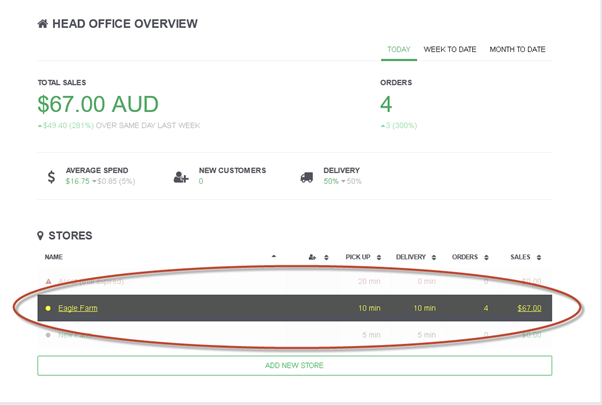
11. Once you have logged in go to your store found under Stores and highlight it, some companies may have more than one store location so select the correct store.
12. Once the store is highlighted the address bar will change slightly. In the address bar you will see a number, this is your store ID for your Webit configuration.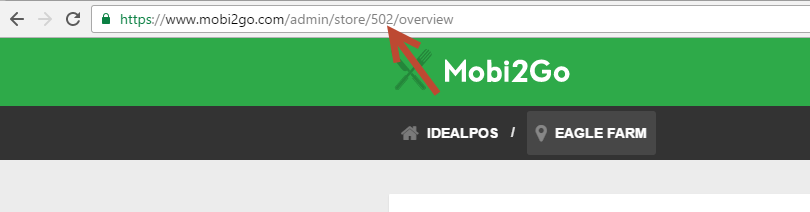
13. Next click on the settings in the top right hand on the page.
14. Scroll down the page to find the API Keys section. This is the API that is required for the Webit configuration. 
15. With the store ID and the API Keys now obtained you have to put them into the configuration of Webit. You’ll want to enter your API key (step 14) into the API key field. Your base URL should be http://www.mobi2go.com/ and your store ID (step 12) goes in the store ID field. API Username is no longer required for new sites. 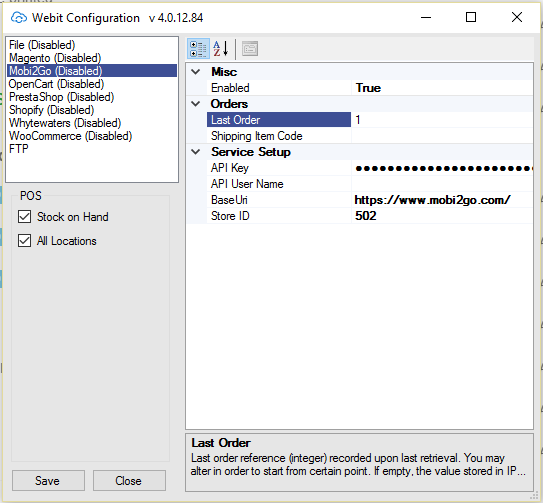
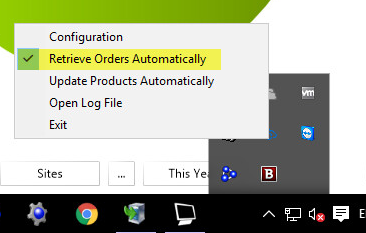
16. Once you have entered the configuration details go to the Webit icon in the system tray and right click on it to access menu. Click on Retrieve Orders Automatically to start the process of Idealpos accepting online orders.
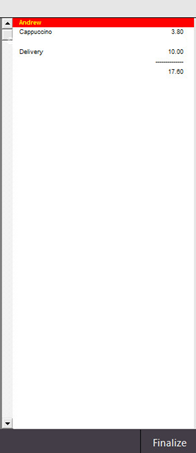
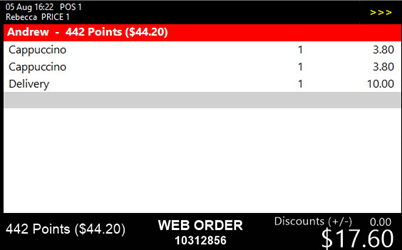
17. If all the details have been entered correctly into the configuration fields do a test sale from your ecommerce site and you will see the web orders tab appear with the numerical value of how many orders are in the queue waiting to be processed.
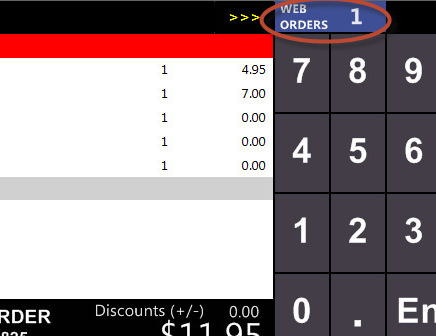
Once you click on the web orders tab you will then be able to finalize the order which then pulls the sale into the sale screen of pos.
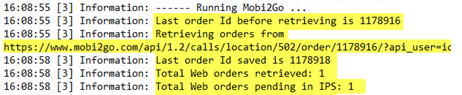
18. If you find that there might be an issue Webit there is a log file that can be checked to obtain information on the processes of the incoming/outgoing files. This area will not make sense to most people, but it is handy if you are asked to access it.
Below is an example of a successful transaction in the log file being received from Webit.