
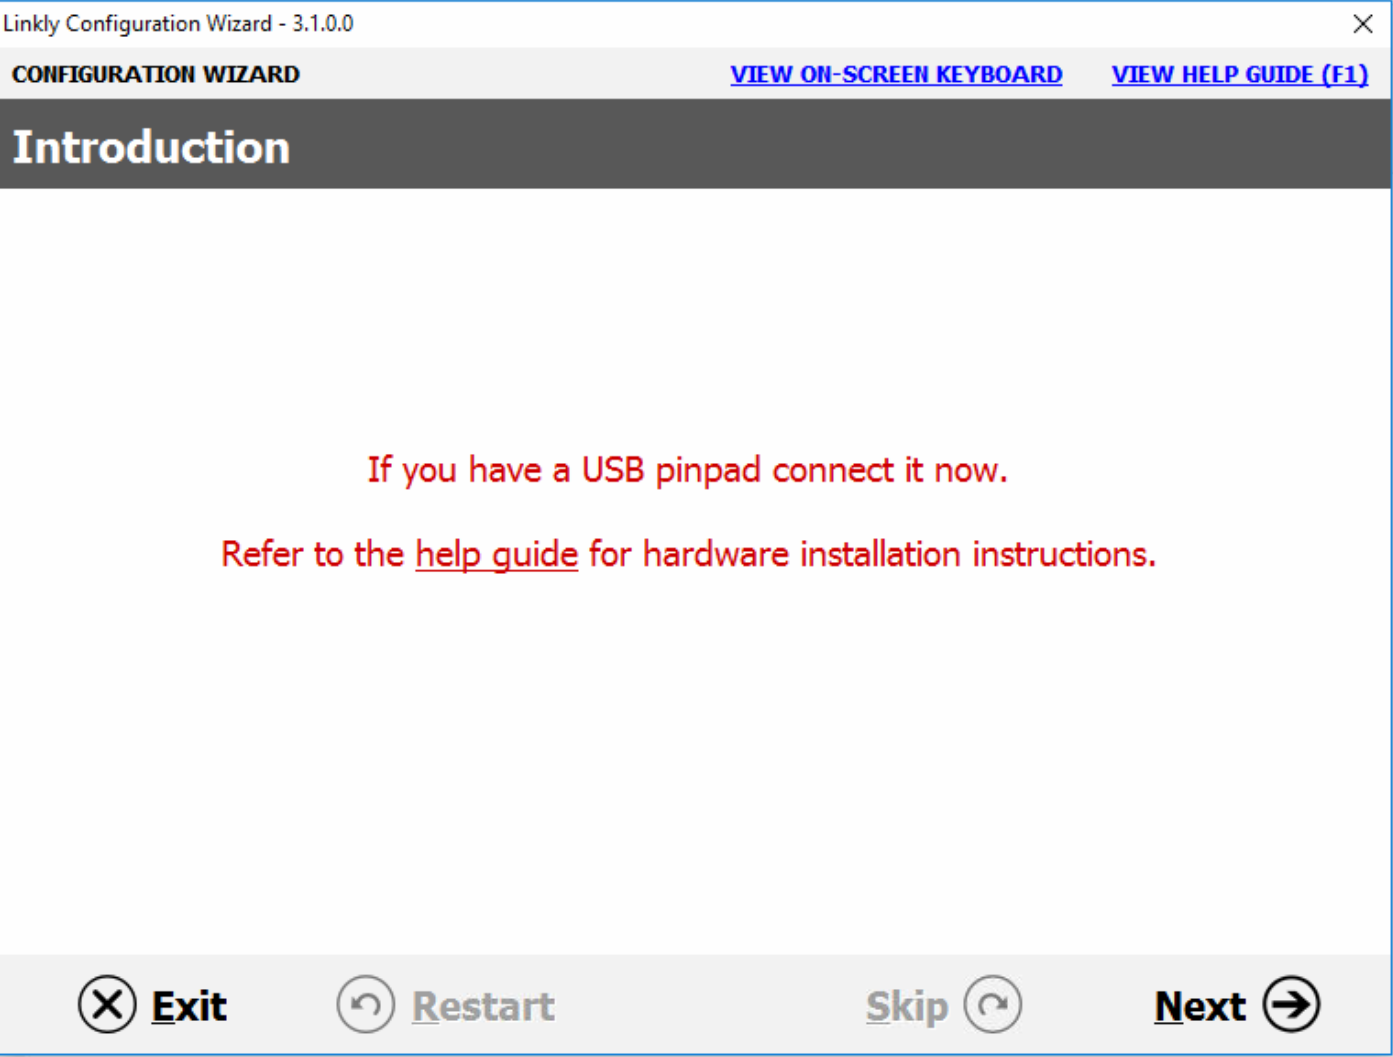
Idealpos P400 Install Guide (Oolio Pay AU/NZ)
The P400 terminal connects to the POS by USB and uses Wi-Fi for transactions and communication to the VHQ (which is the Verifone “configuration server”) The proxy software that is run on the POS is also currently used for configuration but will not be required in future versions.
This is the manual installation process; a scripted installation had been attached for the install team.
Required software can be downloaded here.
Wi-Fi connection and setting static IP of 192.168.137.2/24
Wi-Fi Setup
Follow the steps below to connect a new PINPAD to Wi-Fi.
- Long press of the Enter key (green O button) will also power it up.
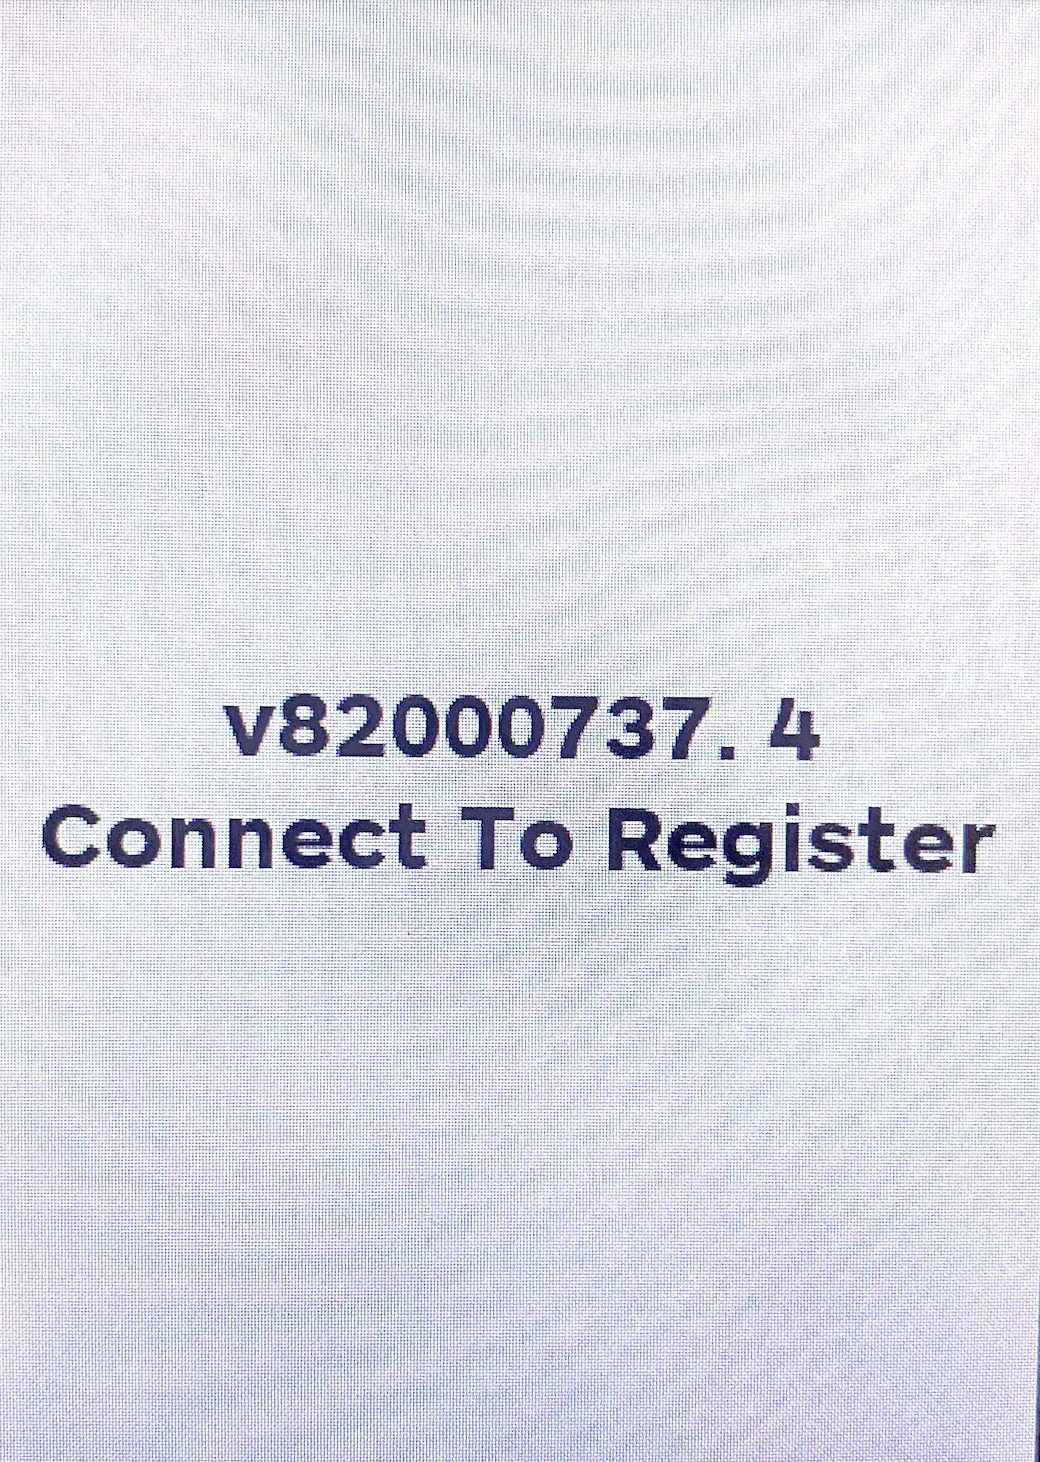
- The terminal will pass through a number of screens and settle on Connect to Register. On the PINPAD press 1, 5 and 9 keys together.
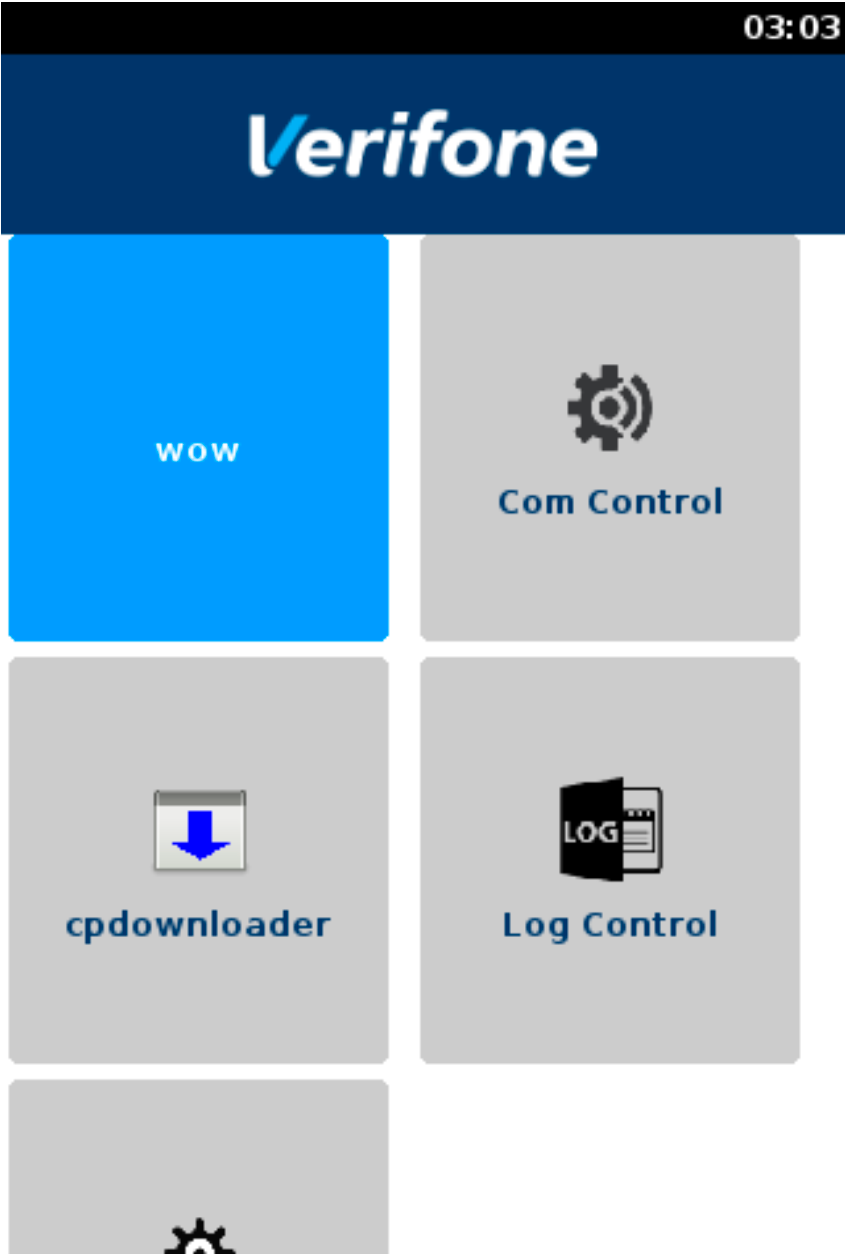
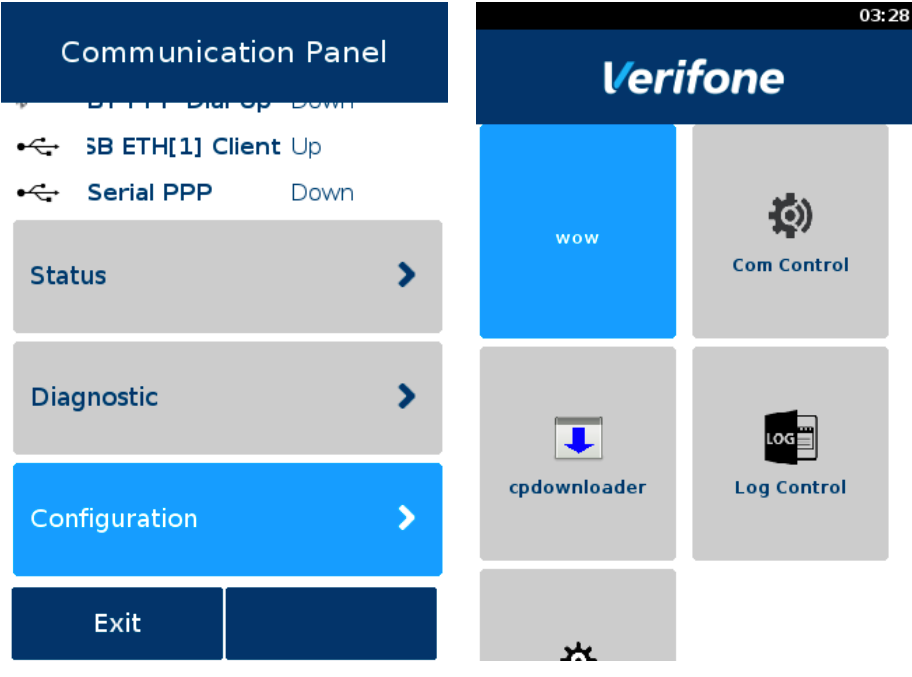
- Press the Com Control tile.
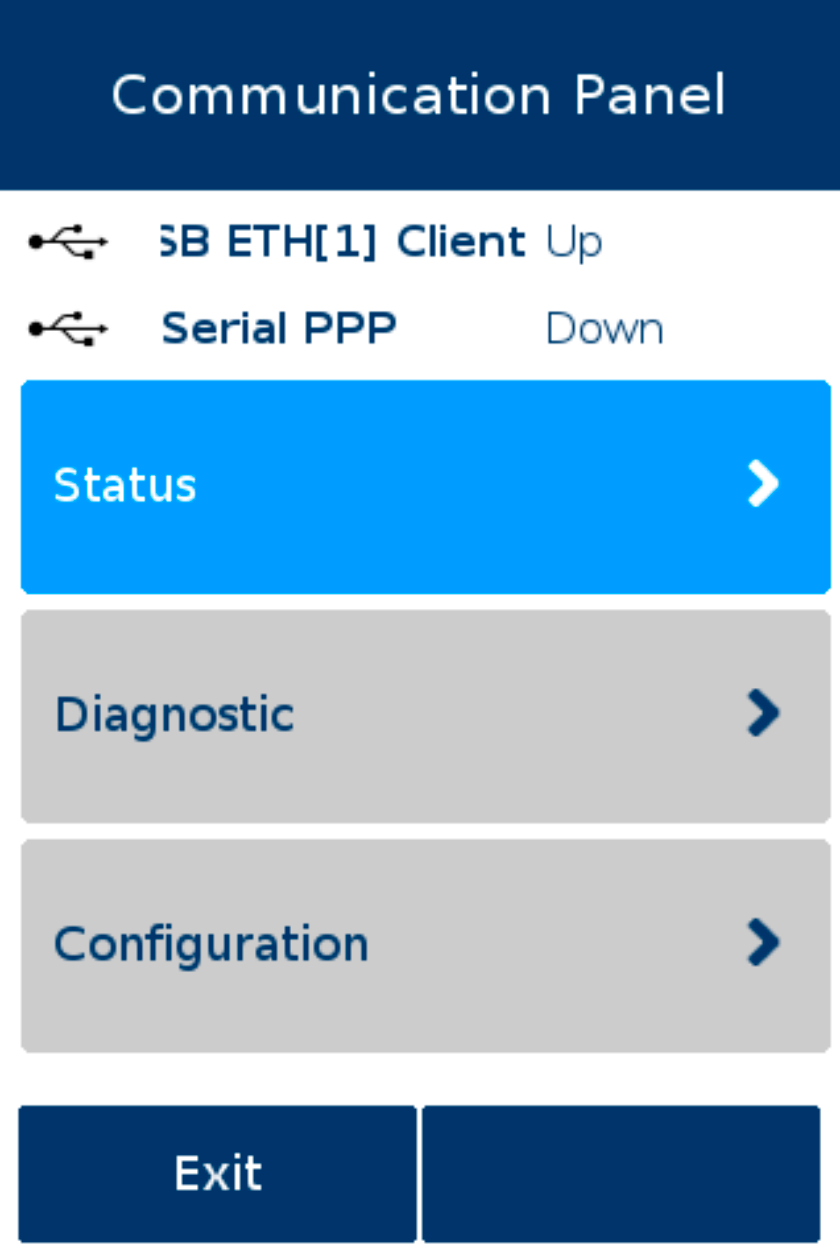
- Scroll down to Configuration and press the Configuration option.
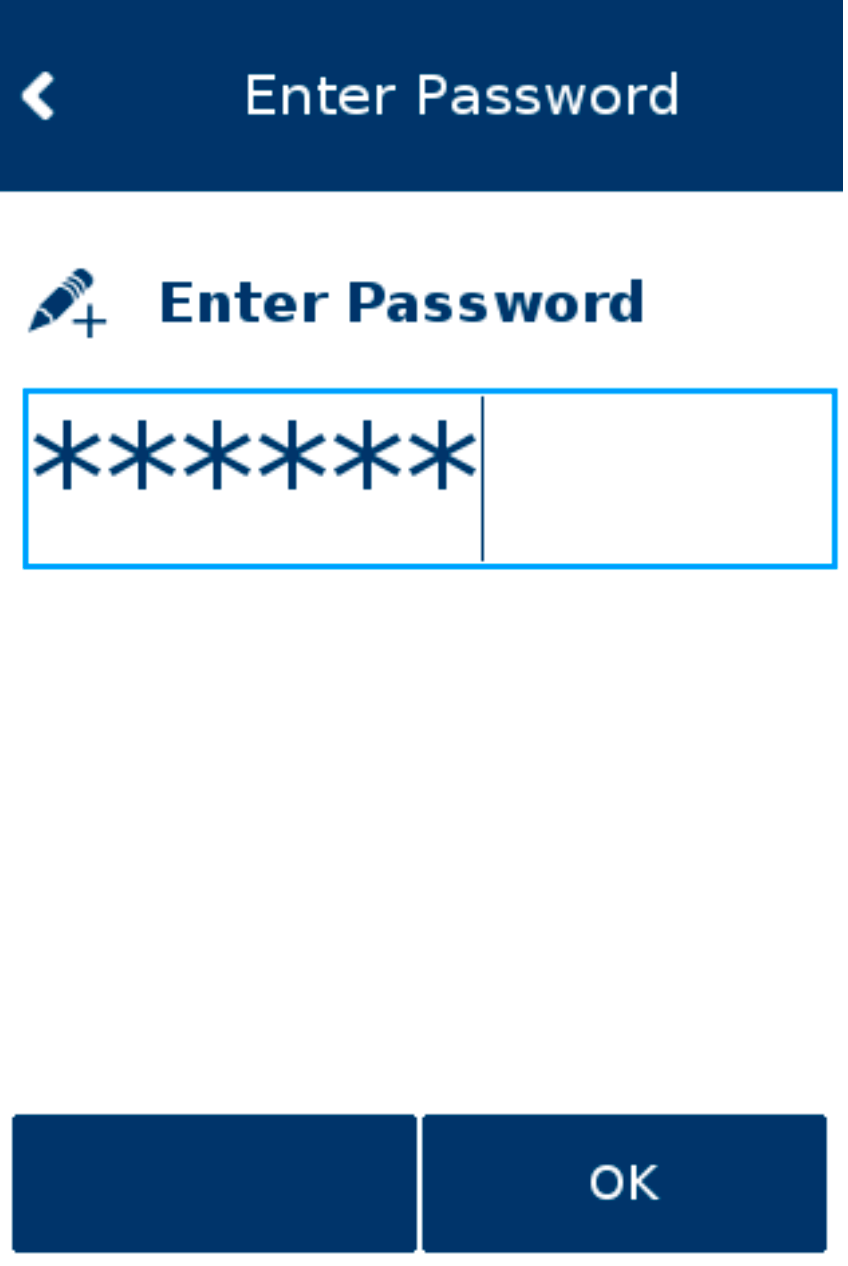
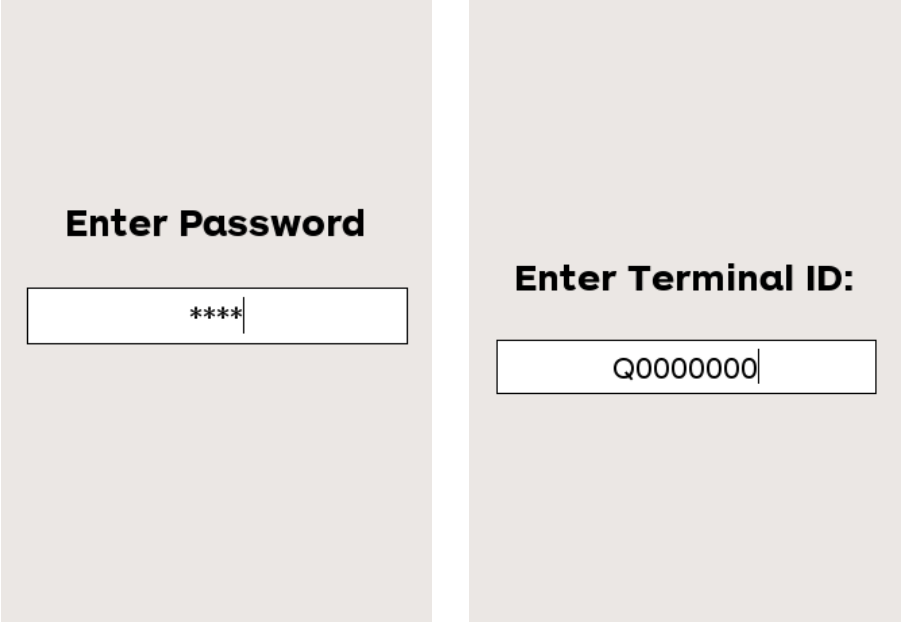
- Enter Password 200331 and select OK.
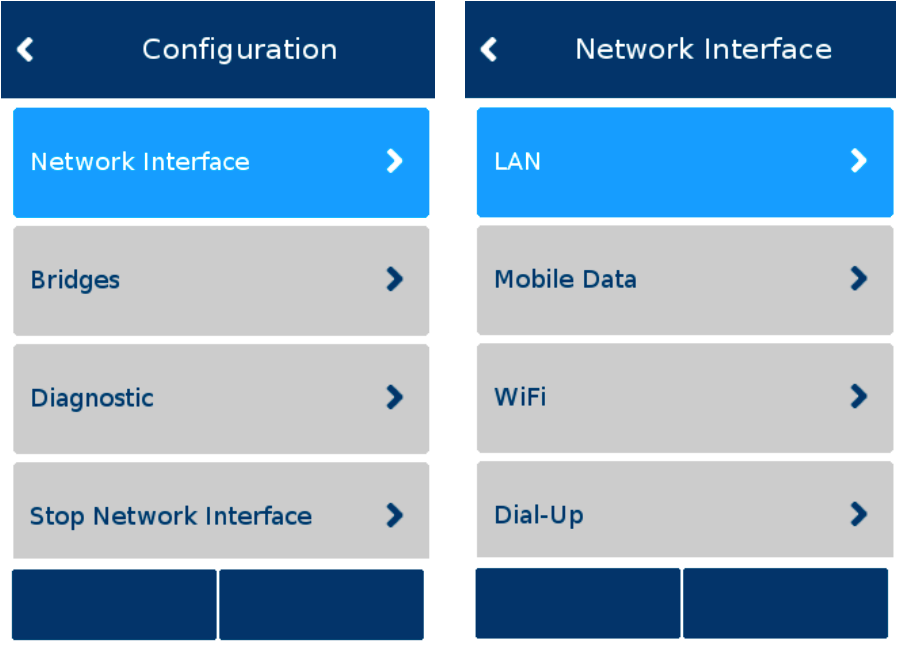
- Select Network Interface
- Select Wi-Fi
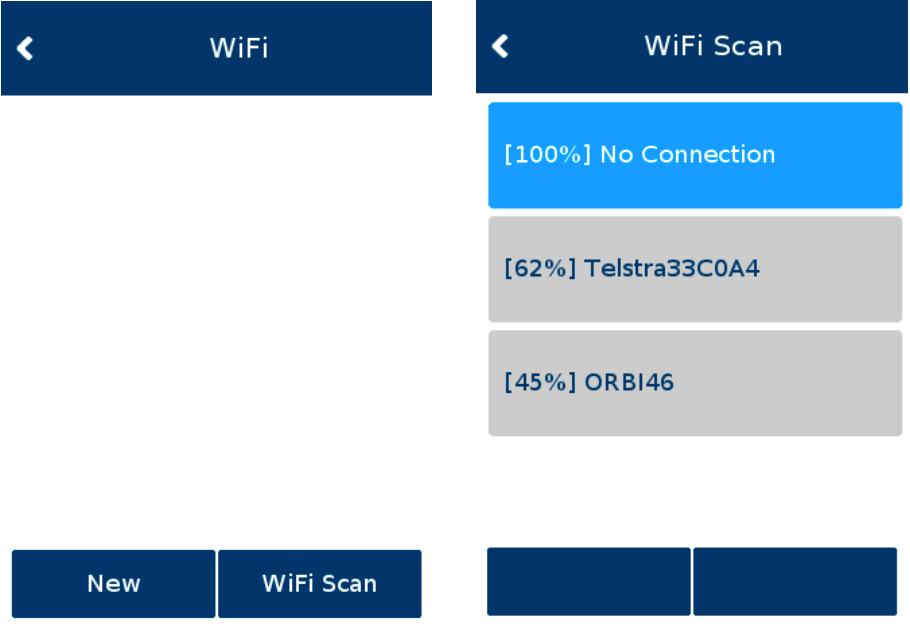
- Press the Wi-Fi Scan button
- Select the Wi-Fi SSID (store Wi-Fi network name) - this must be the same Wi-Fi network that the POS register is on, and then press Add.
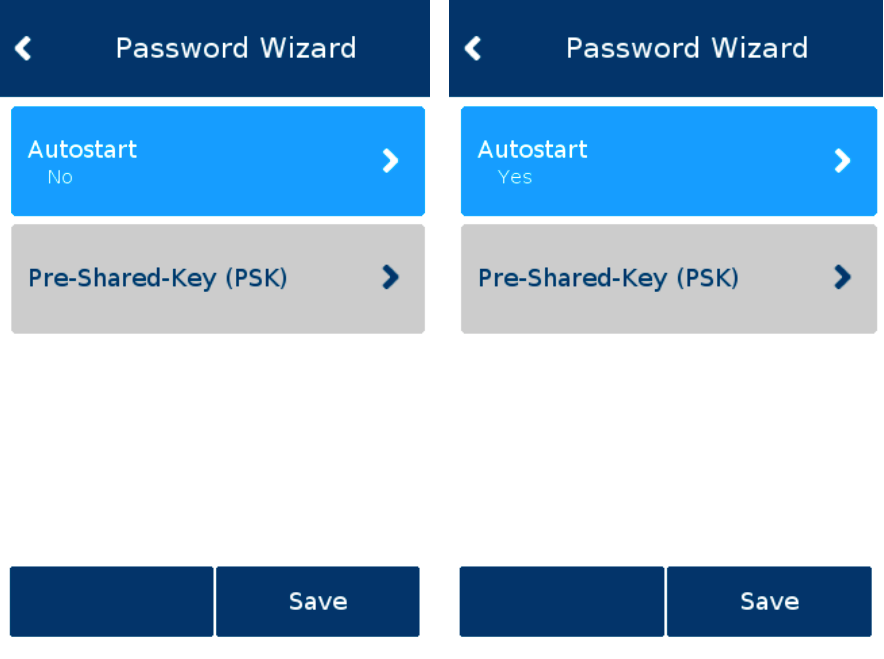
- AutoStart must be set to Yes, if it is not, press AutoStart and select Yes.
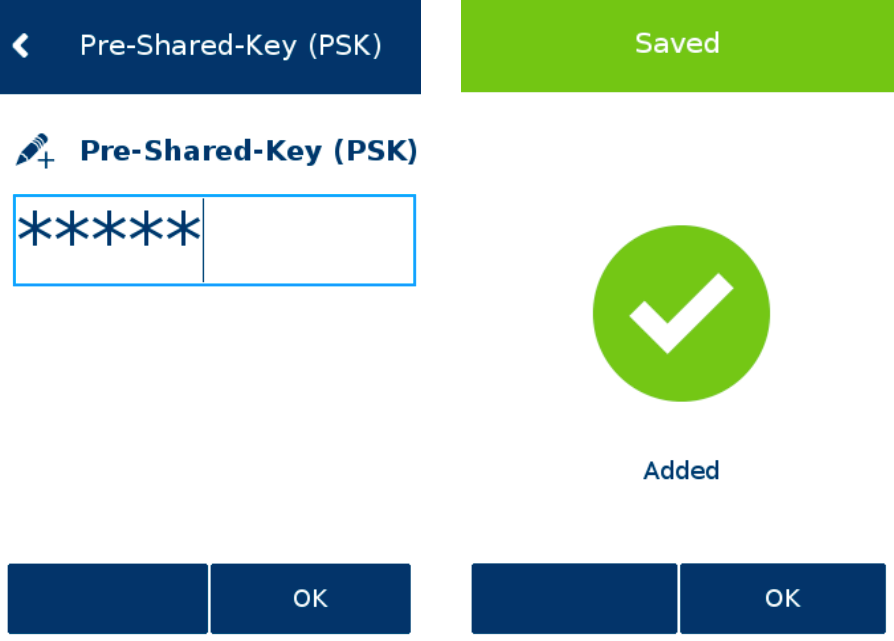
- Press Pre-Shared-Key, enter the store’s Wi-Fi password using the keypad and then press OK.
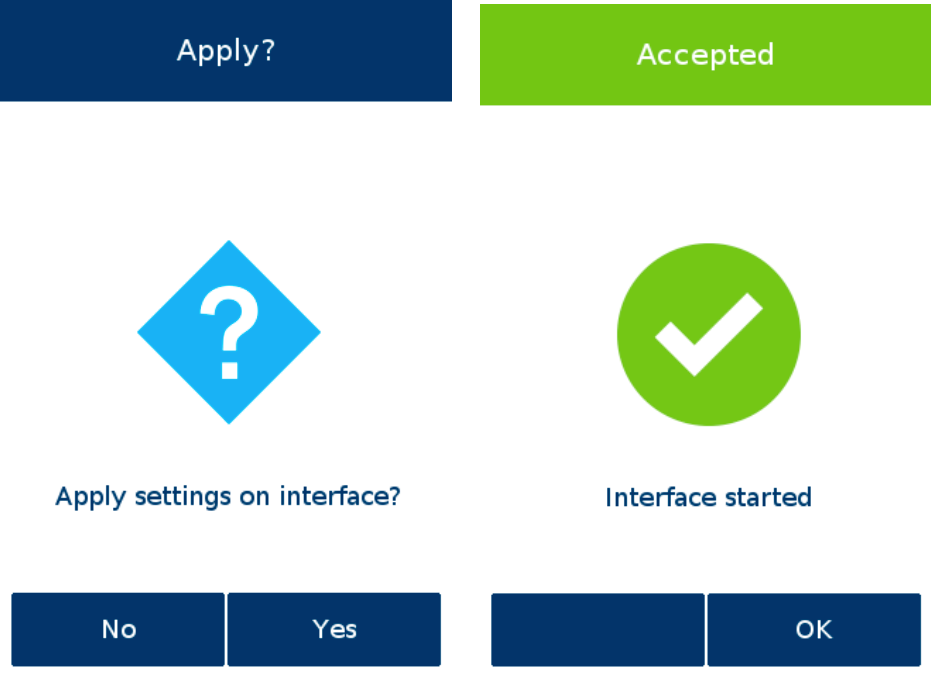
- Then press Save. You should see a tick for success. Press OK.
- Apply Settings on Interface by pressing Yes. This may take a while.
- A tick will indicate that Wi-Fi is connected. Press OK.
- Press the red X button (Cancel) on the Pin-pad a few times until the Exit button is available.
- (You can scroll up on this screen to see and confirm that the Wi-Fi is connected - Wi-Fi should show Up).
- Press Exit. Select Yes to exit application.
- Press the wow tile to revert to the Idle screen.
PINPAD Provisioning
PINPAD Provisioning links a terminal to a terminal ID in the local acquirer system.
- Press #, enter 7410 at the Password prompt and press the green O button (Enter) to start the terminal provisioning process.
- Enter the Terminal ID. To do this use the yellow < button (Clear) to remove the default ID where necessary and replace it with the correct value and then press Enter.
- If you see the message Switch to Integrated mode? or Switch to Standalone mode? press
- > the green button for Yes, or
- > the yellow button for No, as required

For Integrated Mode
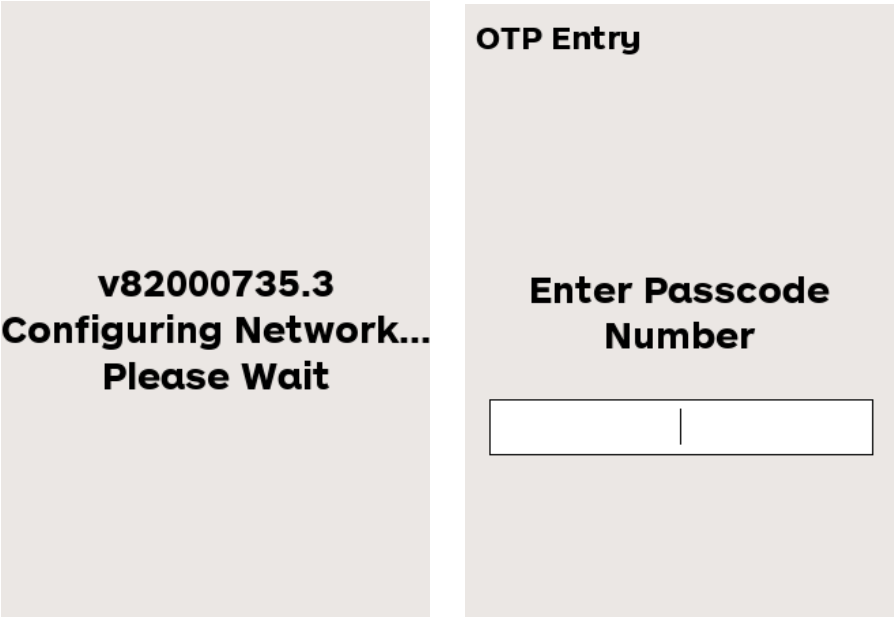
- If you select Integrated Mode, after configuring the network, the terminal may request a 12-digit Passcode.
- If you have been provided with one, key it in here and press Enter otherwise press the green O button (Enter) to bypass this step.
- Provisioning is complete when you see Connect to Register.

For Stand Alone Mode
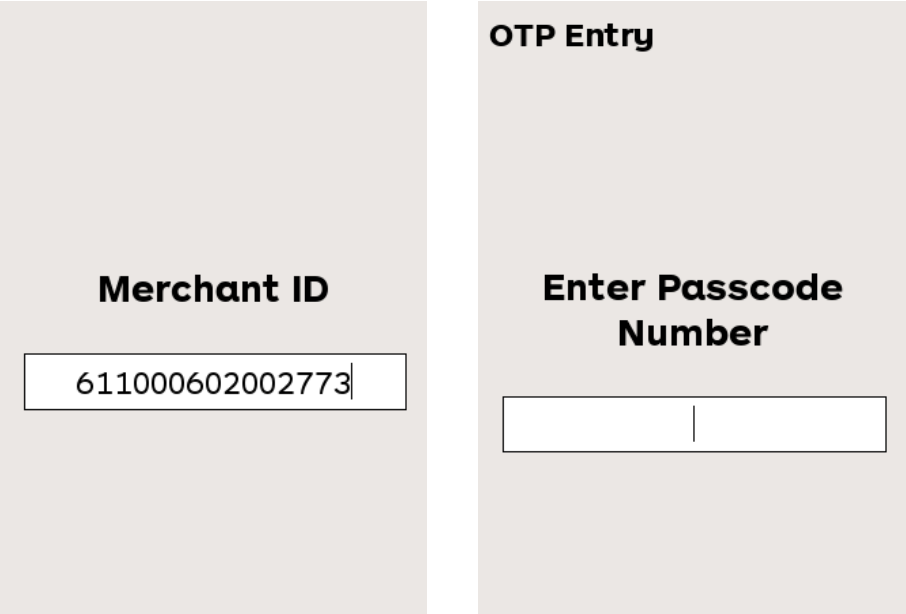
- If you select Standalone Mode, after configuring the network, the terminal may request the Merchant ID (MID). Key in the value provided by the local acquirer and press Enter.
- You may then be asked for a Passcode. If you have been provided with one key it in here and press Enter otherwise press the green O button (Enter) to bypass this step.
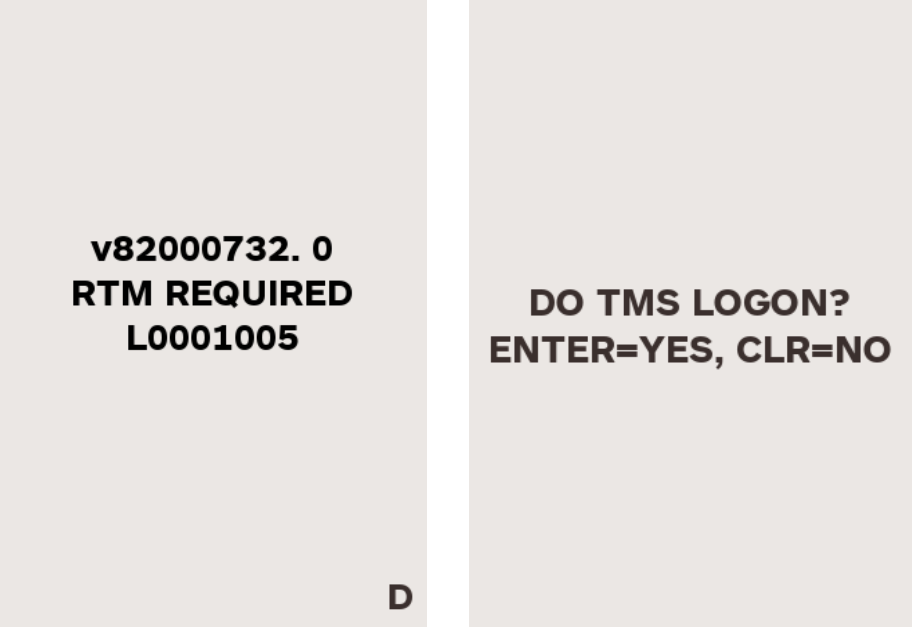
- The Pin-pad may show RTM REQUIRED if it has not been loaded with the latest software. In this case perform an RTM logon - a check for the latest software, by pressing #3696 Enter.
- Press Enter again for Yes to DO TMS LOGON?
The terminal will then download new software as required. Continue at the next step.
- If the terminal shows LOGON REQUIRED, press #4648 Enter.
- Press Enter again at Force RSA LOGON to perform a Switch logon.
- This will download a CPAT file (card tables) which will take a few minutes.


Integration to the POS
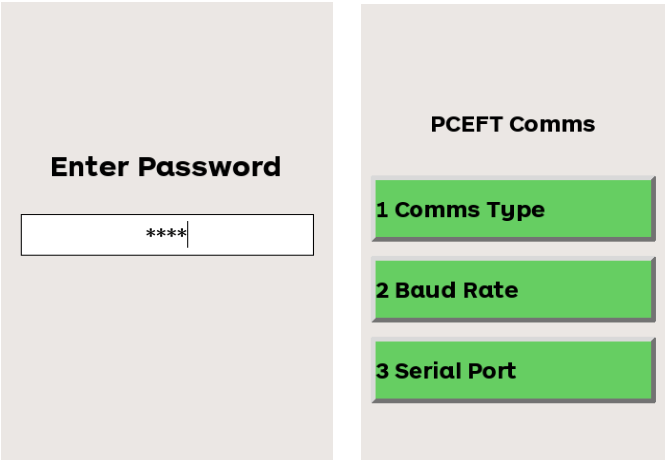
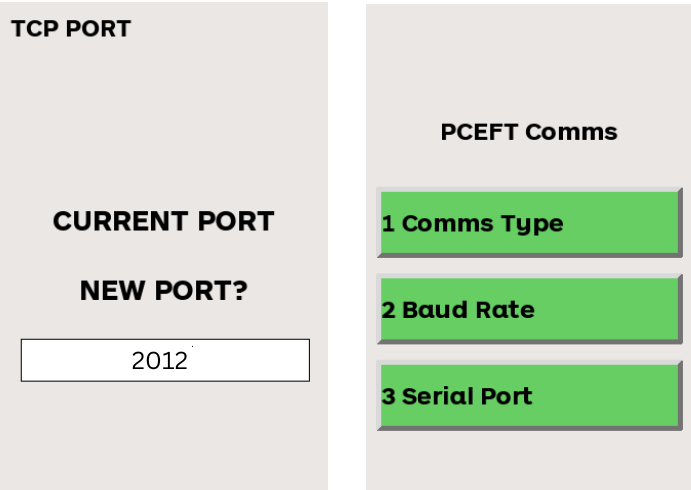
- Press # then at the Enter Password prompt, enter 11112227 and press the green O button (Enter).
- Press option 1 Comms Type.
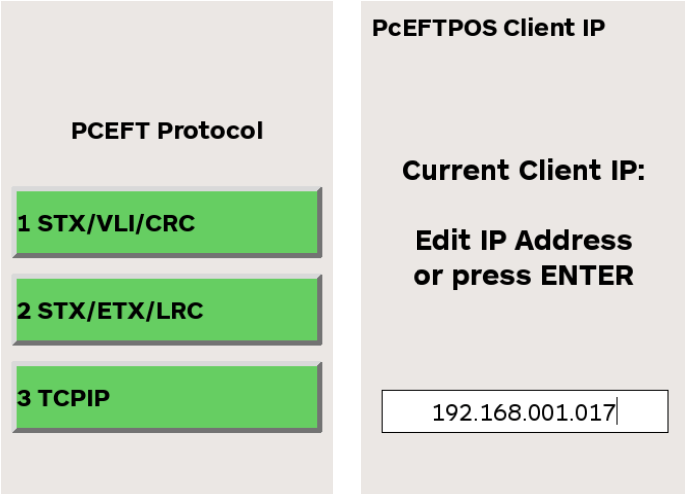
- Press option 3 TCPIP.
- Enter the IP address of the POS (in IPv4 format) and press Enter.
- The Current Port number should be showing as 2012. If it is not, then amended it and press Enter to continue.
- You’ll be returned to the menu screen as shown in step 2.
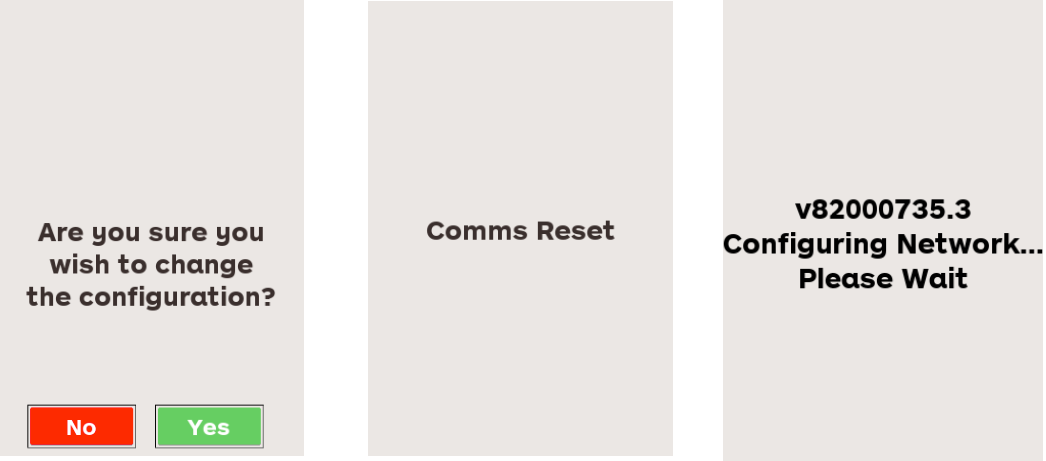
- Press the X (Cancel) button and the PIN-pad will prompt you to save the configuration change. Press Yes.
- The PIN-pad will display Comms Reset and then pass through some configuration screens.
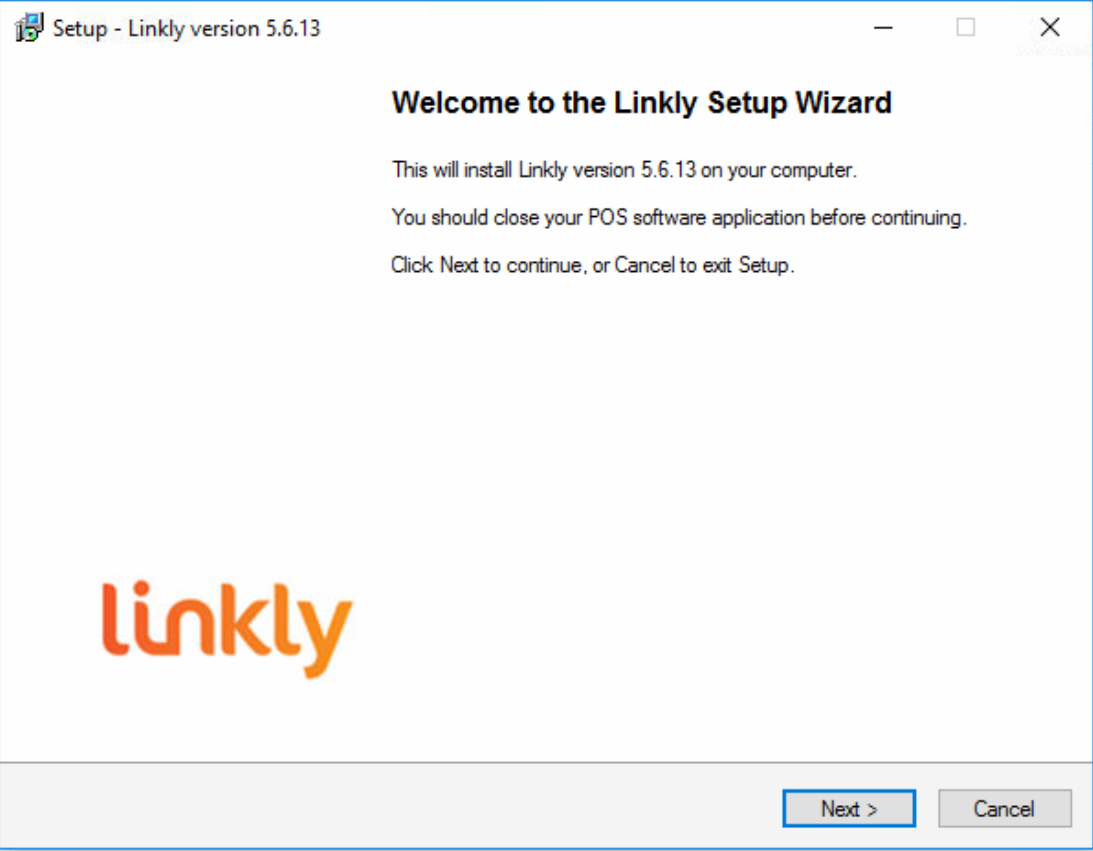
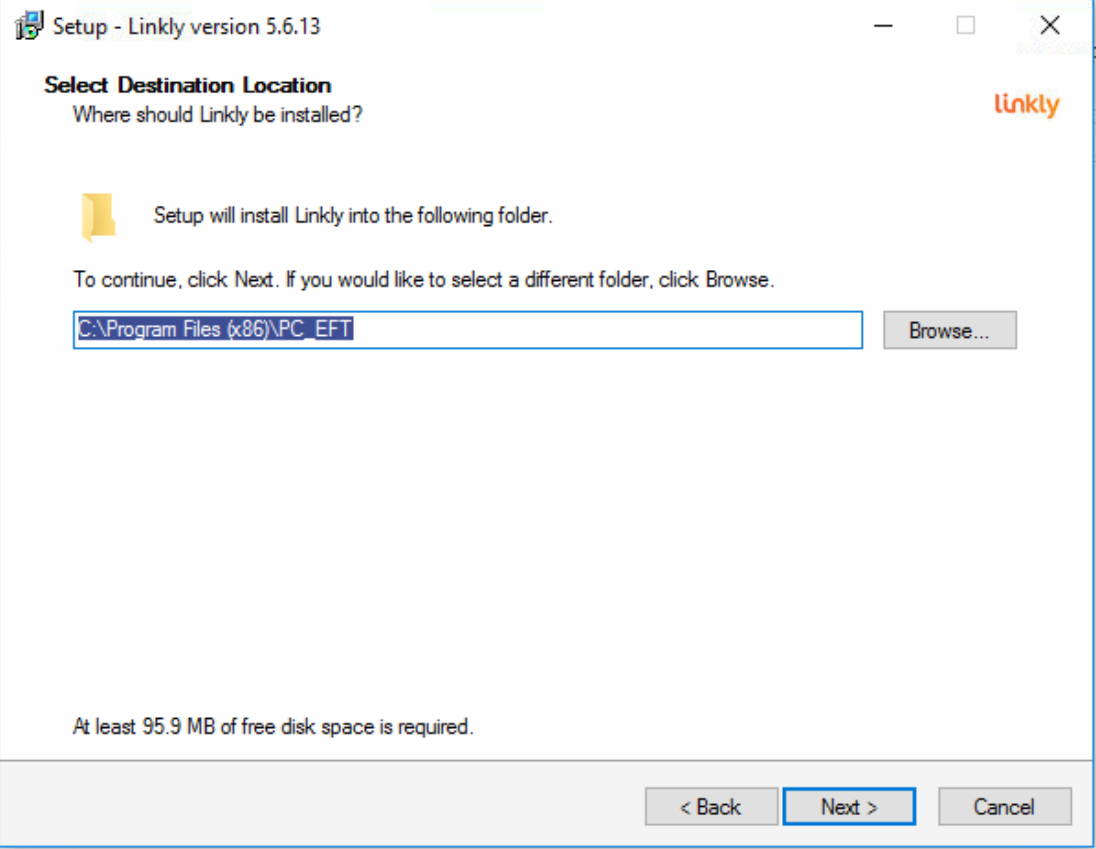
Install Linkly Client 5.9.13.
- Next
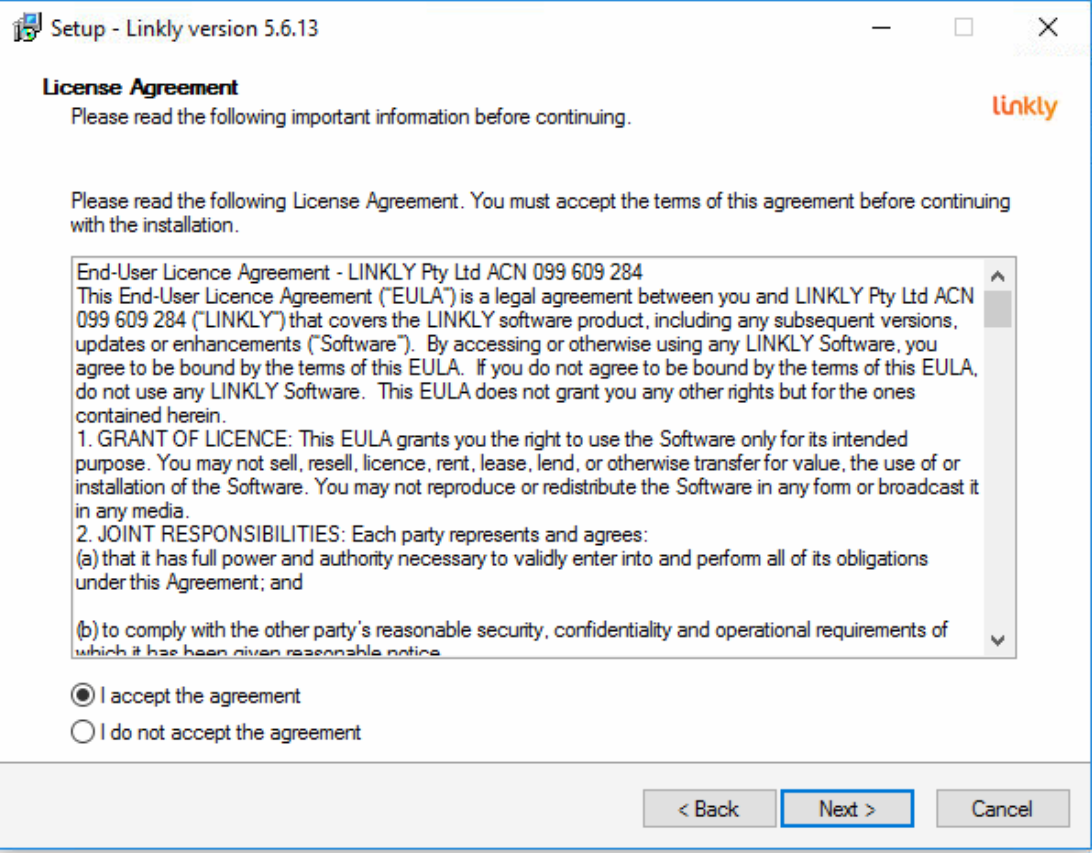
- Accept Agreement ->Next
- Next
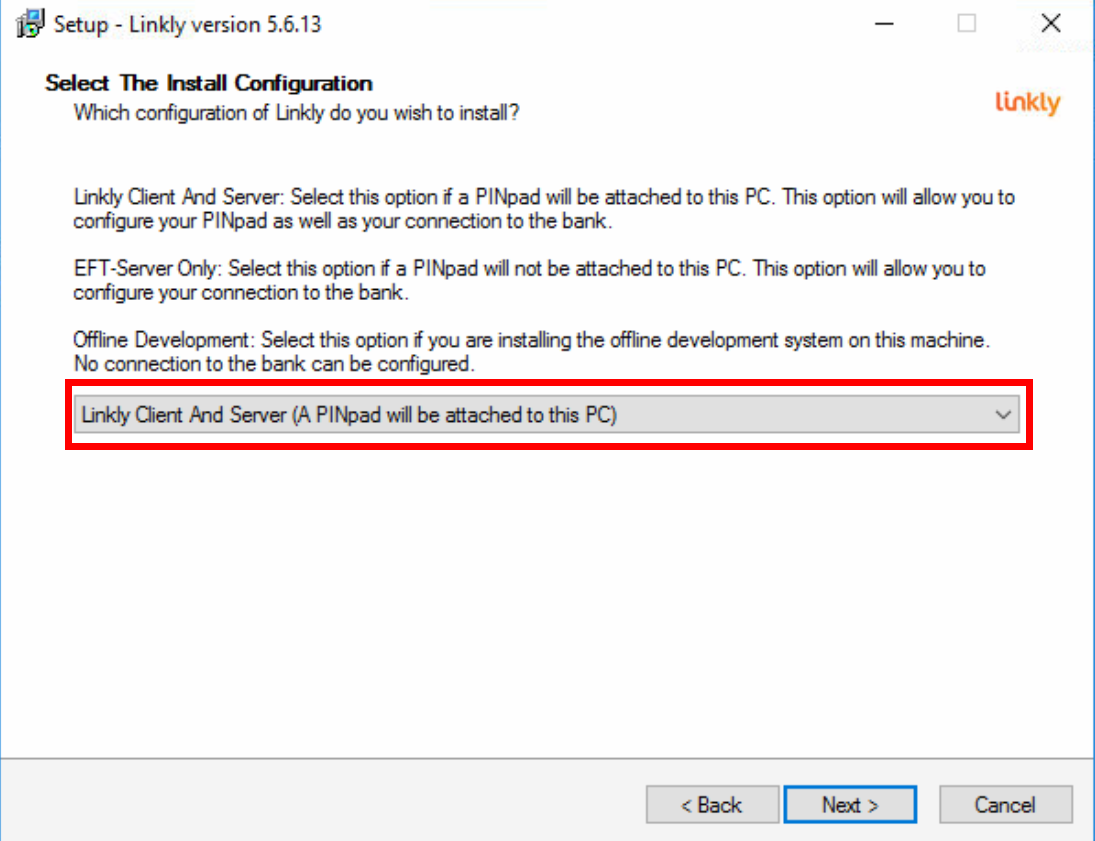
- Select Client and Server -> Next
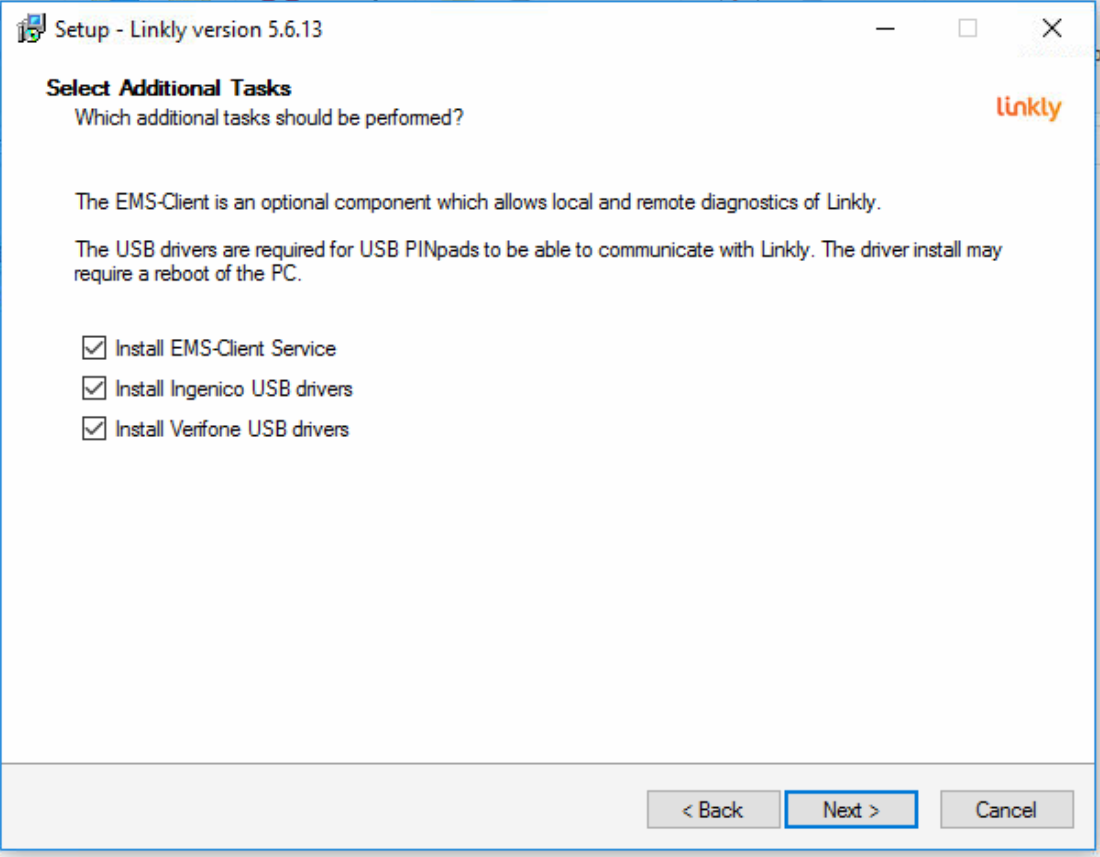
- Next
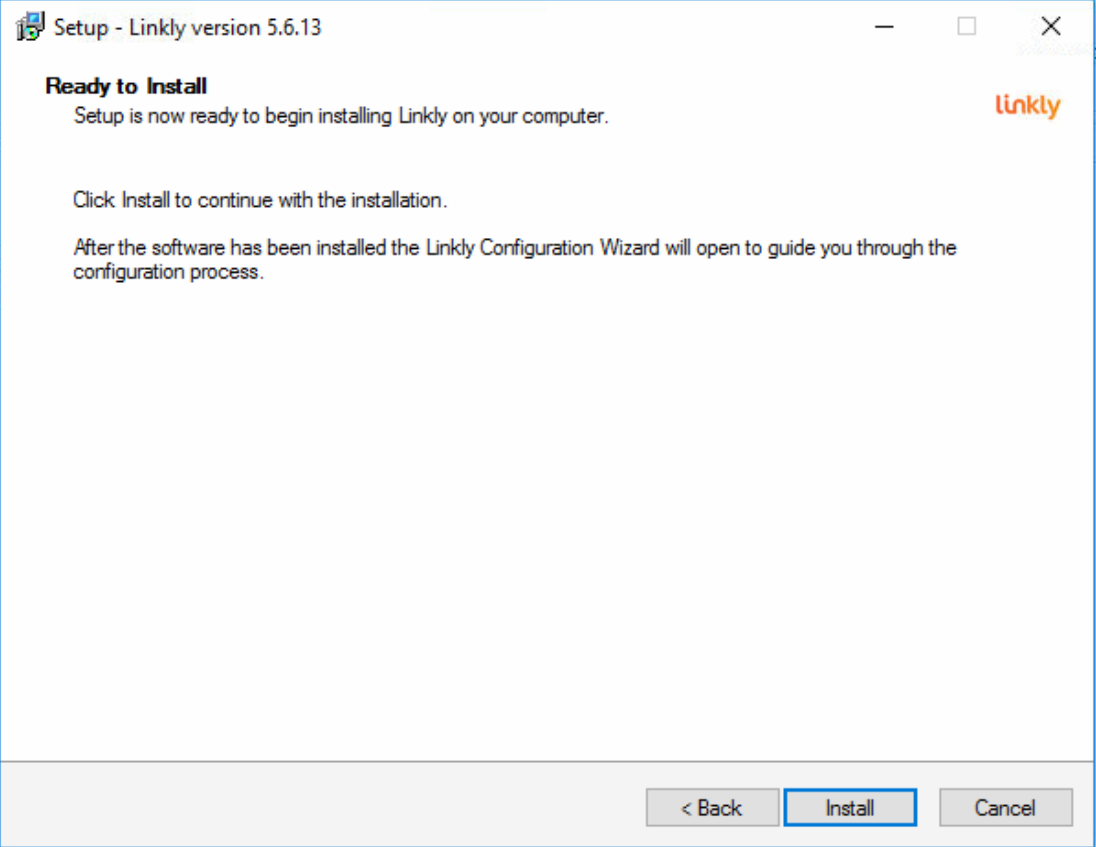
- Install
- Exit
- Confirm, Yes
- Stop and disable the EFT-Server windows service, it is not required for OolioPay AUS/NZ

Apply fix for Windows 11
Windows 11 can stop the pinpad driver from working, to fix this open Registry Editor.
Go to HKEY_LOCAL_MACHINE\SYSTEM\CurrentControlSet\Control\DeviceGuard\Scenarios.
Make sure HypervisorEnforcedCodeIntegrity is set to 1 to enable Memory integrity.
Reboot PC.
Install Proxy Windows service.
- Copy the WebLFDProxyPlus folder to “C:\Program Files (x86)\PC_EFT”
- Run “C:\Program Files (x86)\PC_EFT\weblfdproxy_install.bat” as administrator.
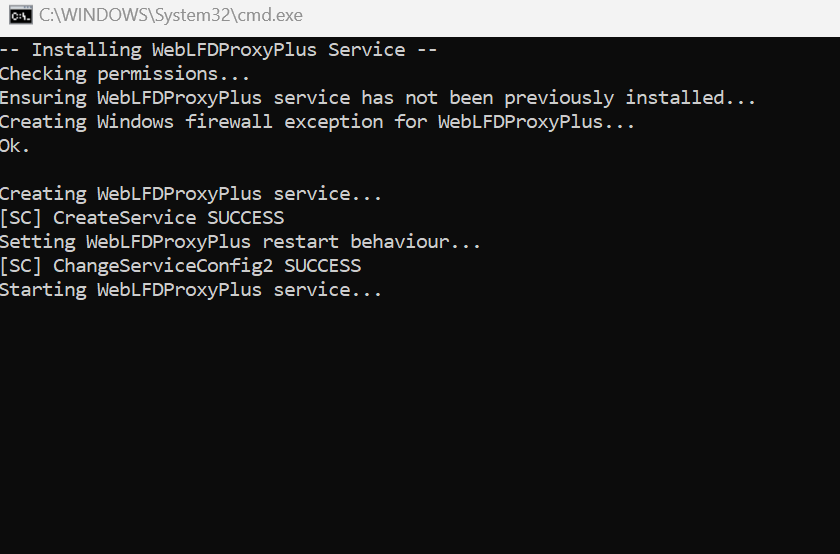
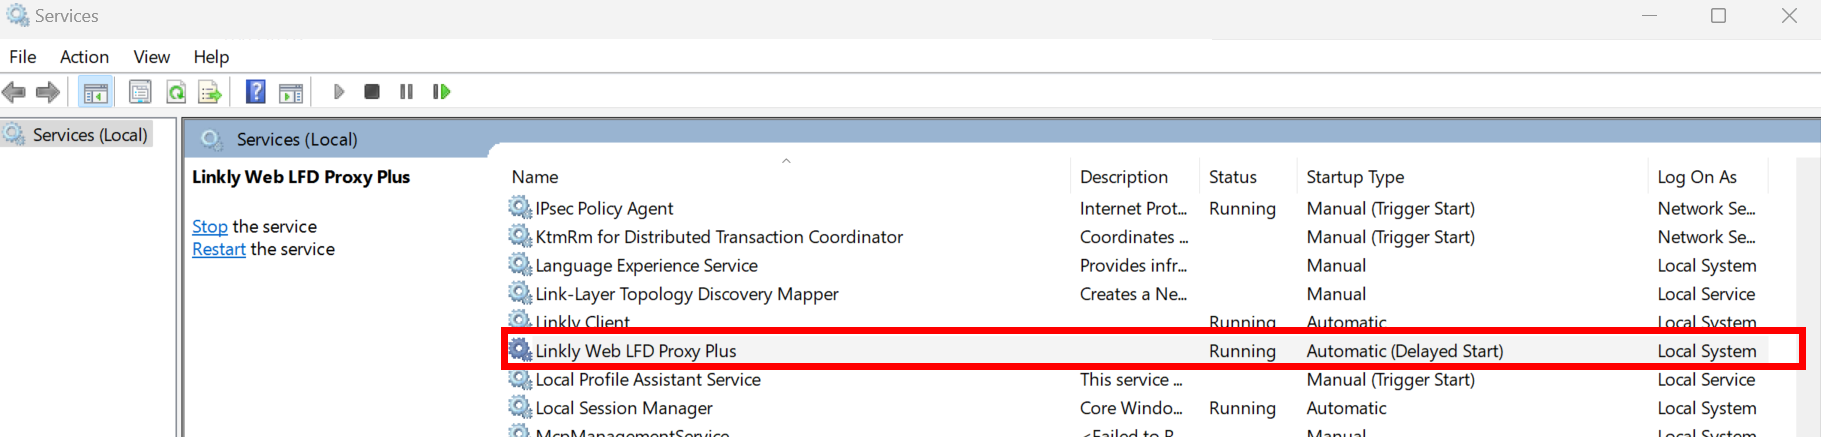
- Check Linkly Web LFD Proxy Plus service is installed, running and set to Automatic (Delayed Start).
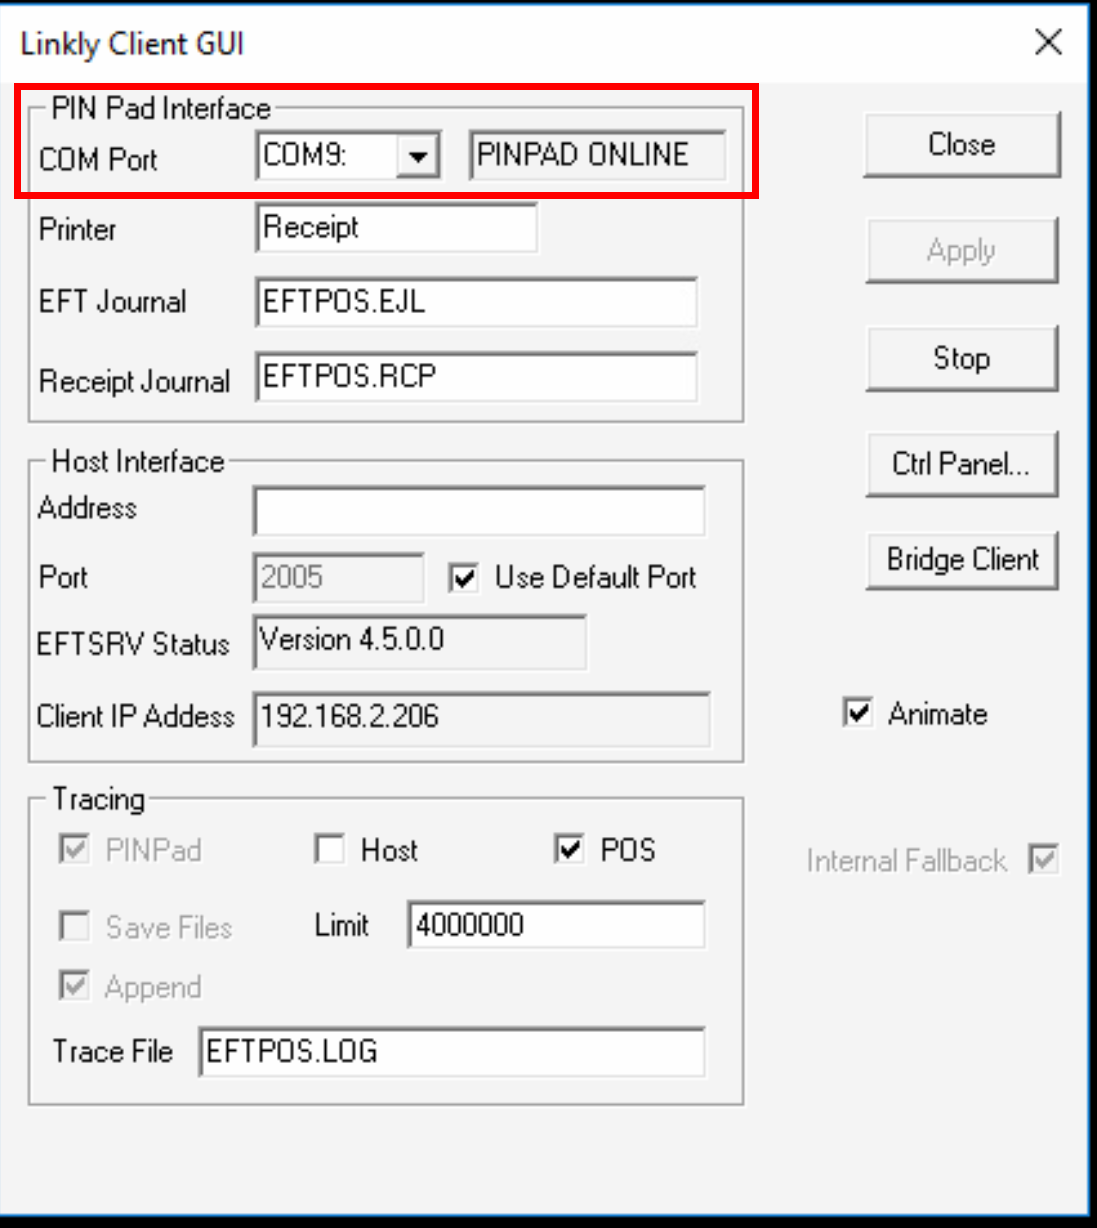
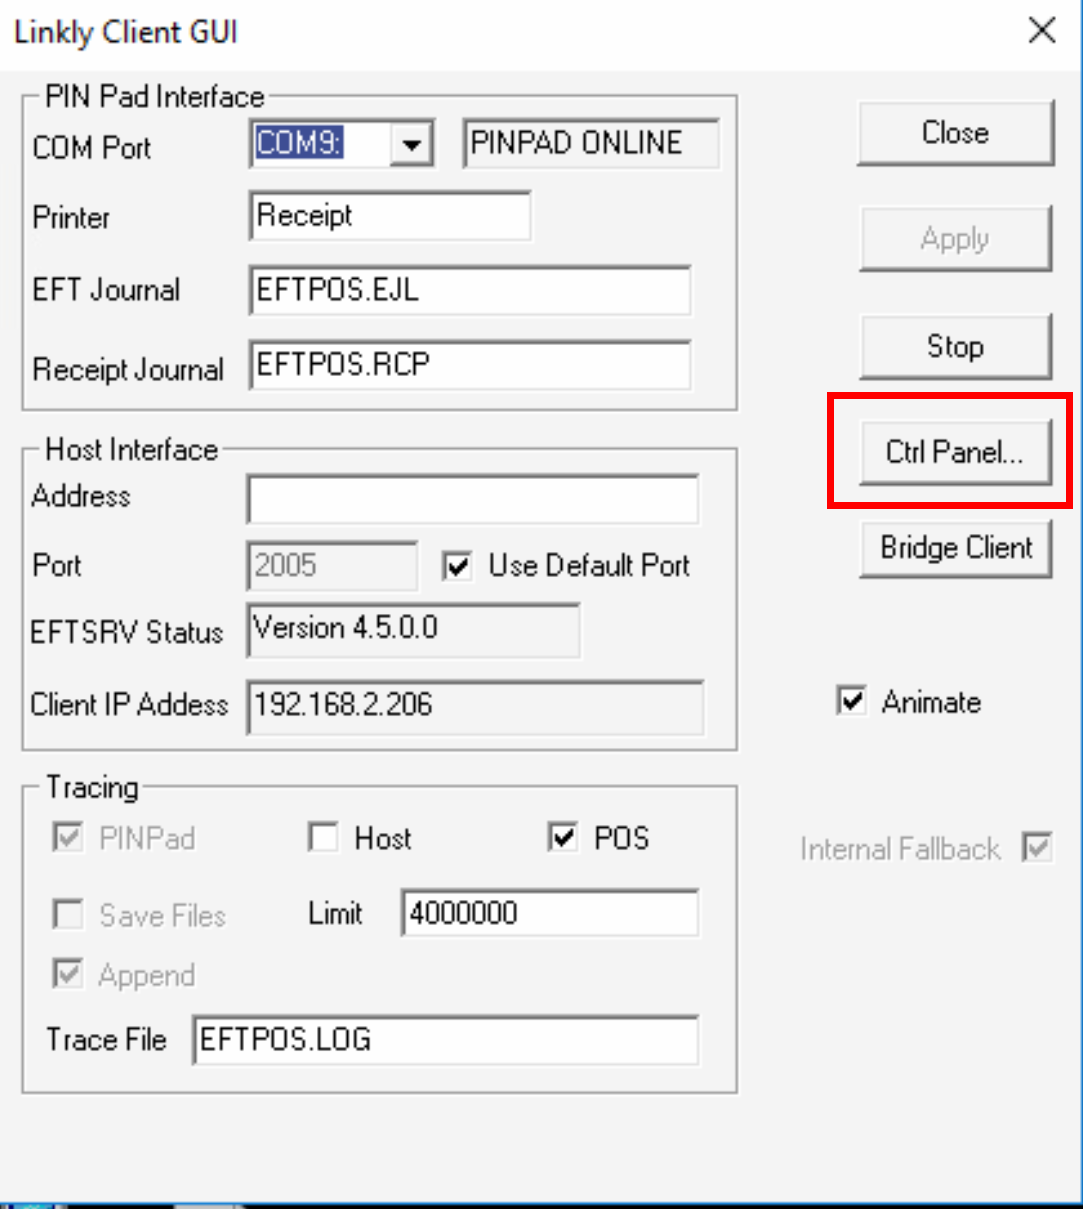
- Option A(Preferred): In Linkly Client check TCPIP = TCPIP: (The pinpad may not be online yet.)
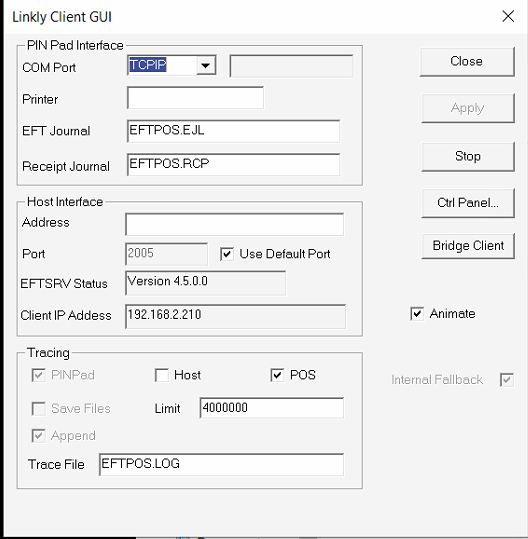
- Option B: In Linkly Client check COM Port = COM9
Add exception to firewall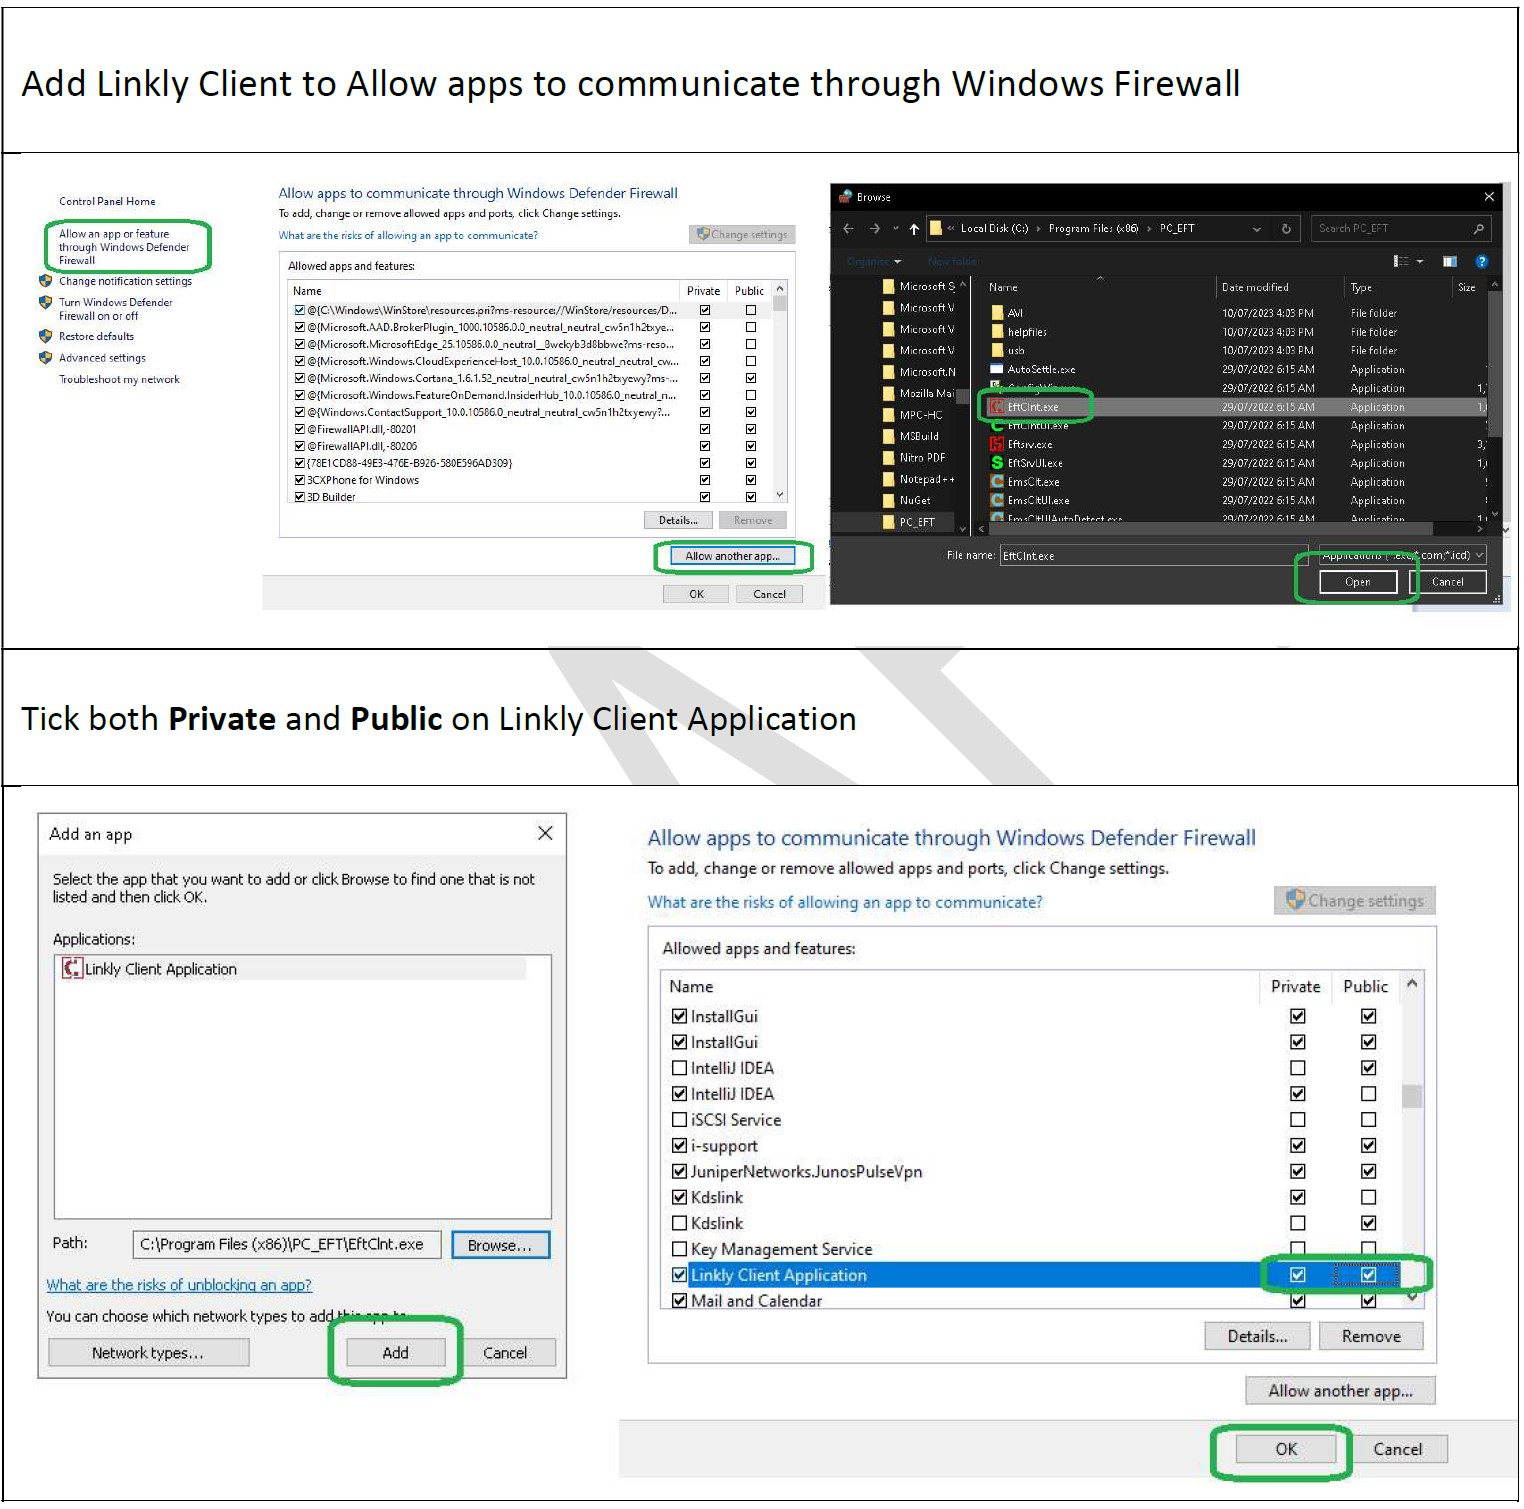
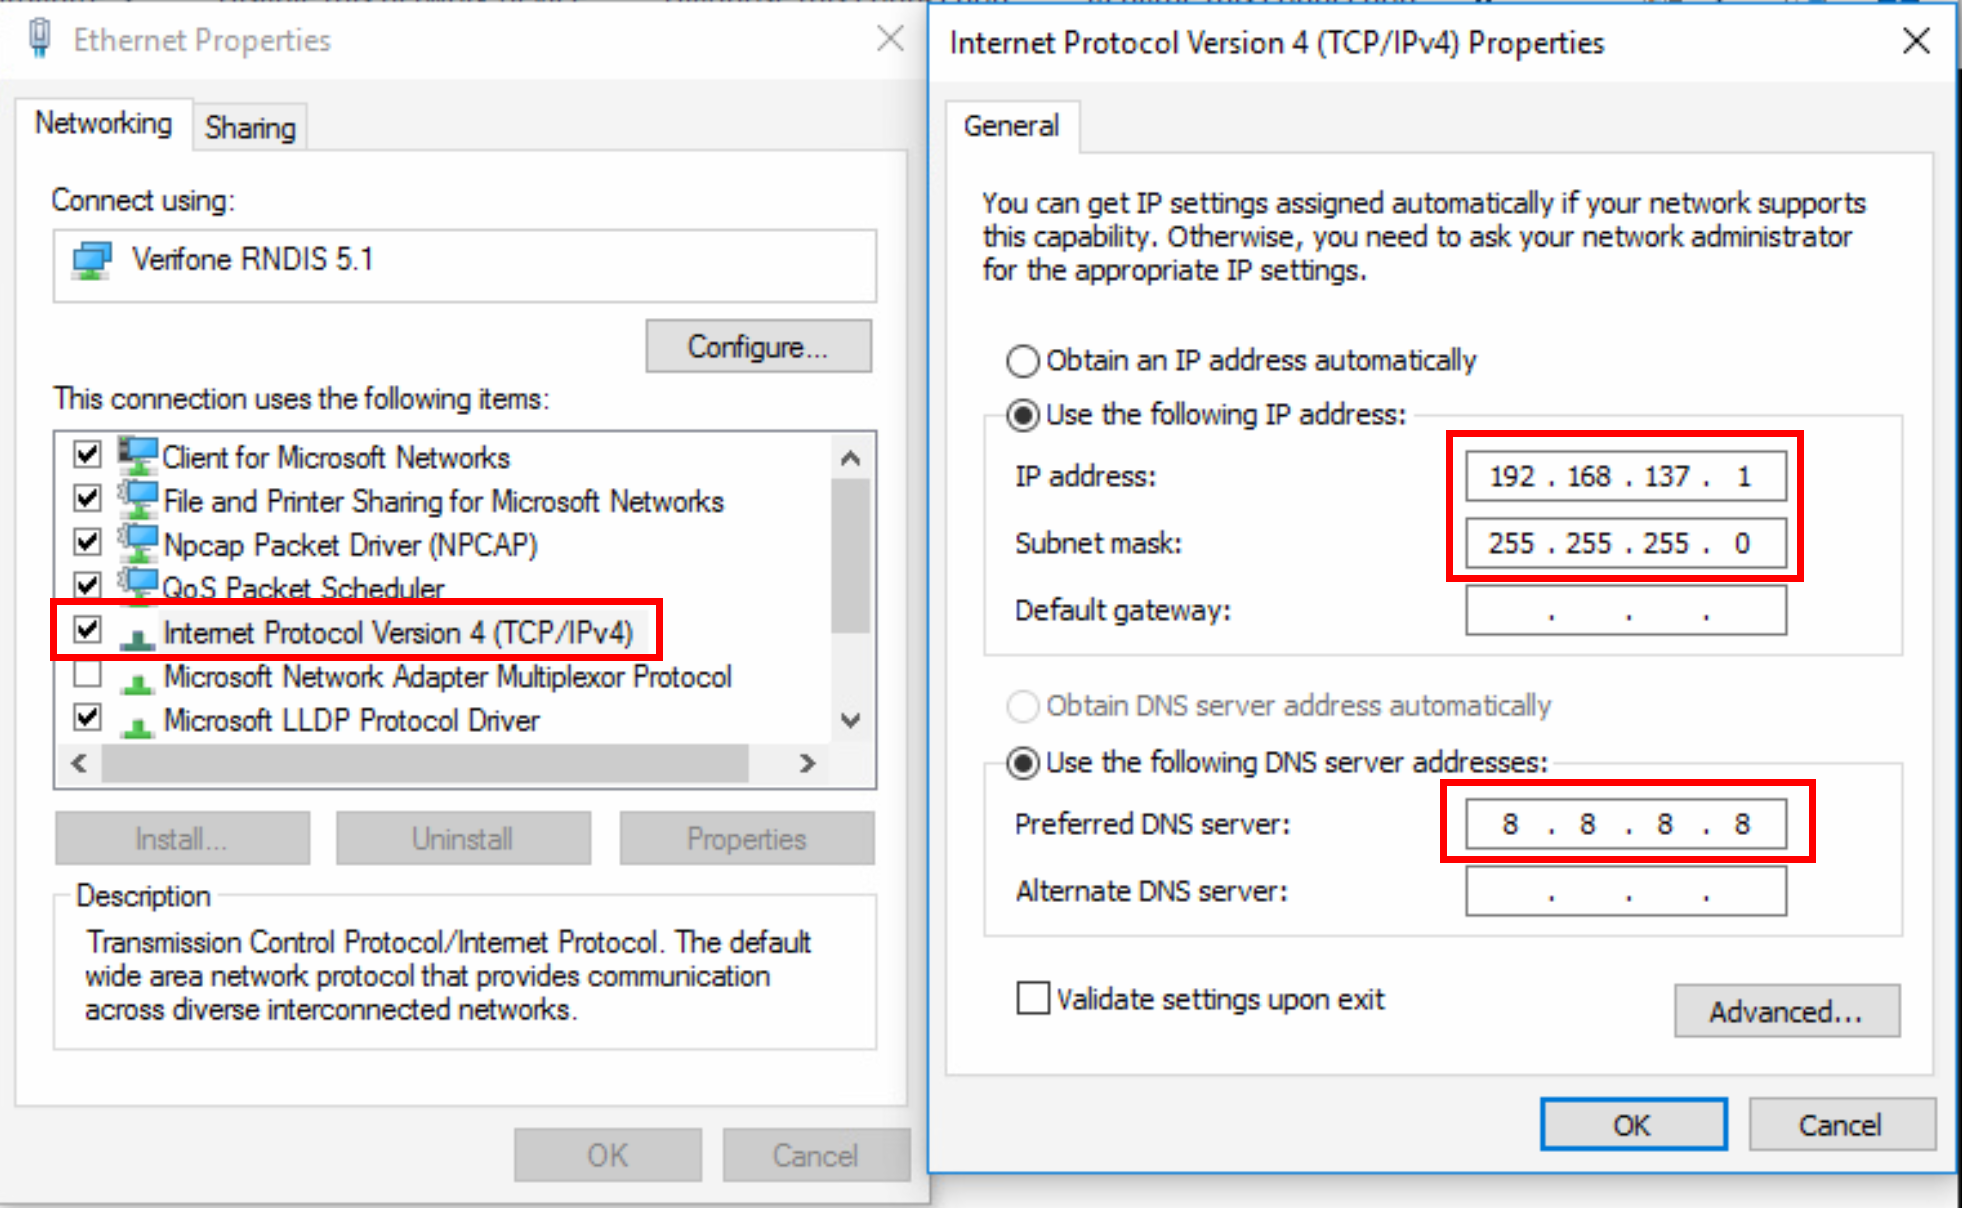
Set Static IP on the Pinpad RNDIS network adapter
The proxy service listens for comms on 192.168.137.1 so this must be configured as the static IP.
(The PINPAD should already have a static IP of 192.168.137.2 set)

Configure Linkly Client 5.9.13
- Enable surcharging
- In Linkly Client GUI click Ctrl Panel
- Select Surcharge, tick Enable Surcharge, click settings, click OK
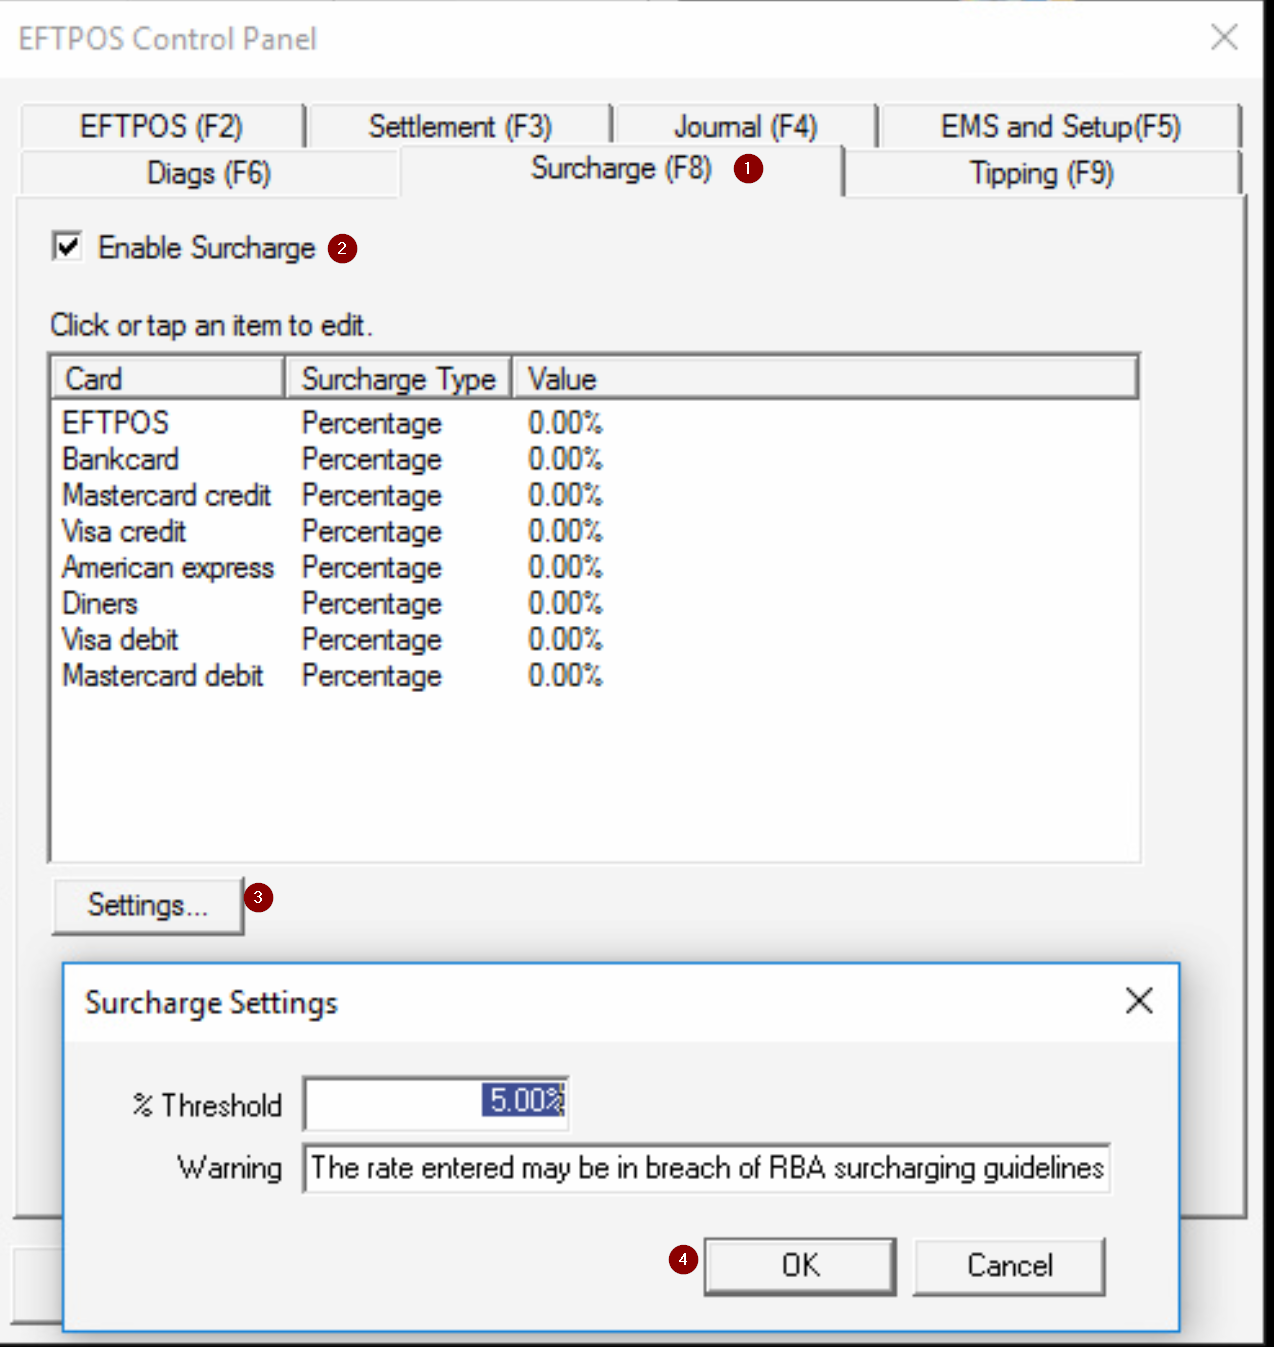
- The surcharge Values in the Linky client are not used and do not need to be configured. The surcharge value is configured by Oolio.
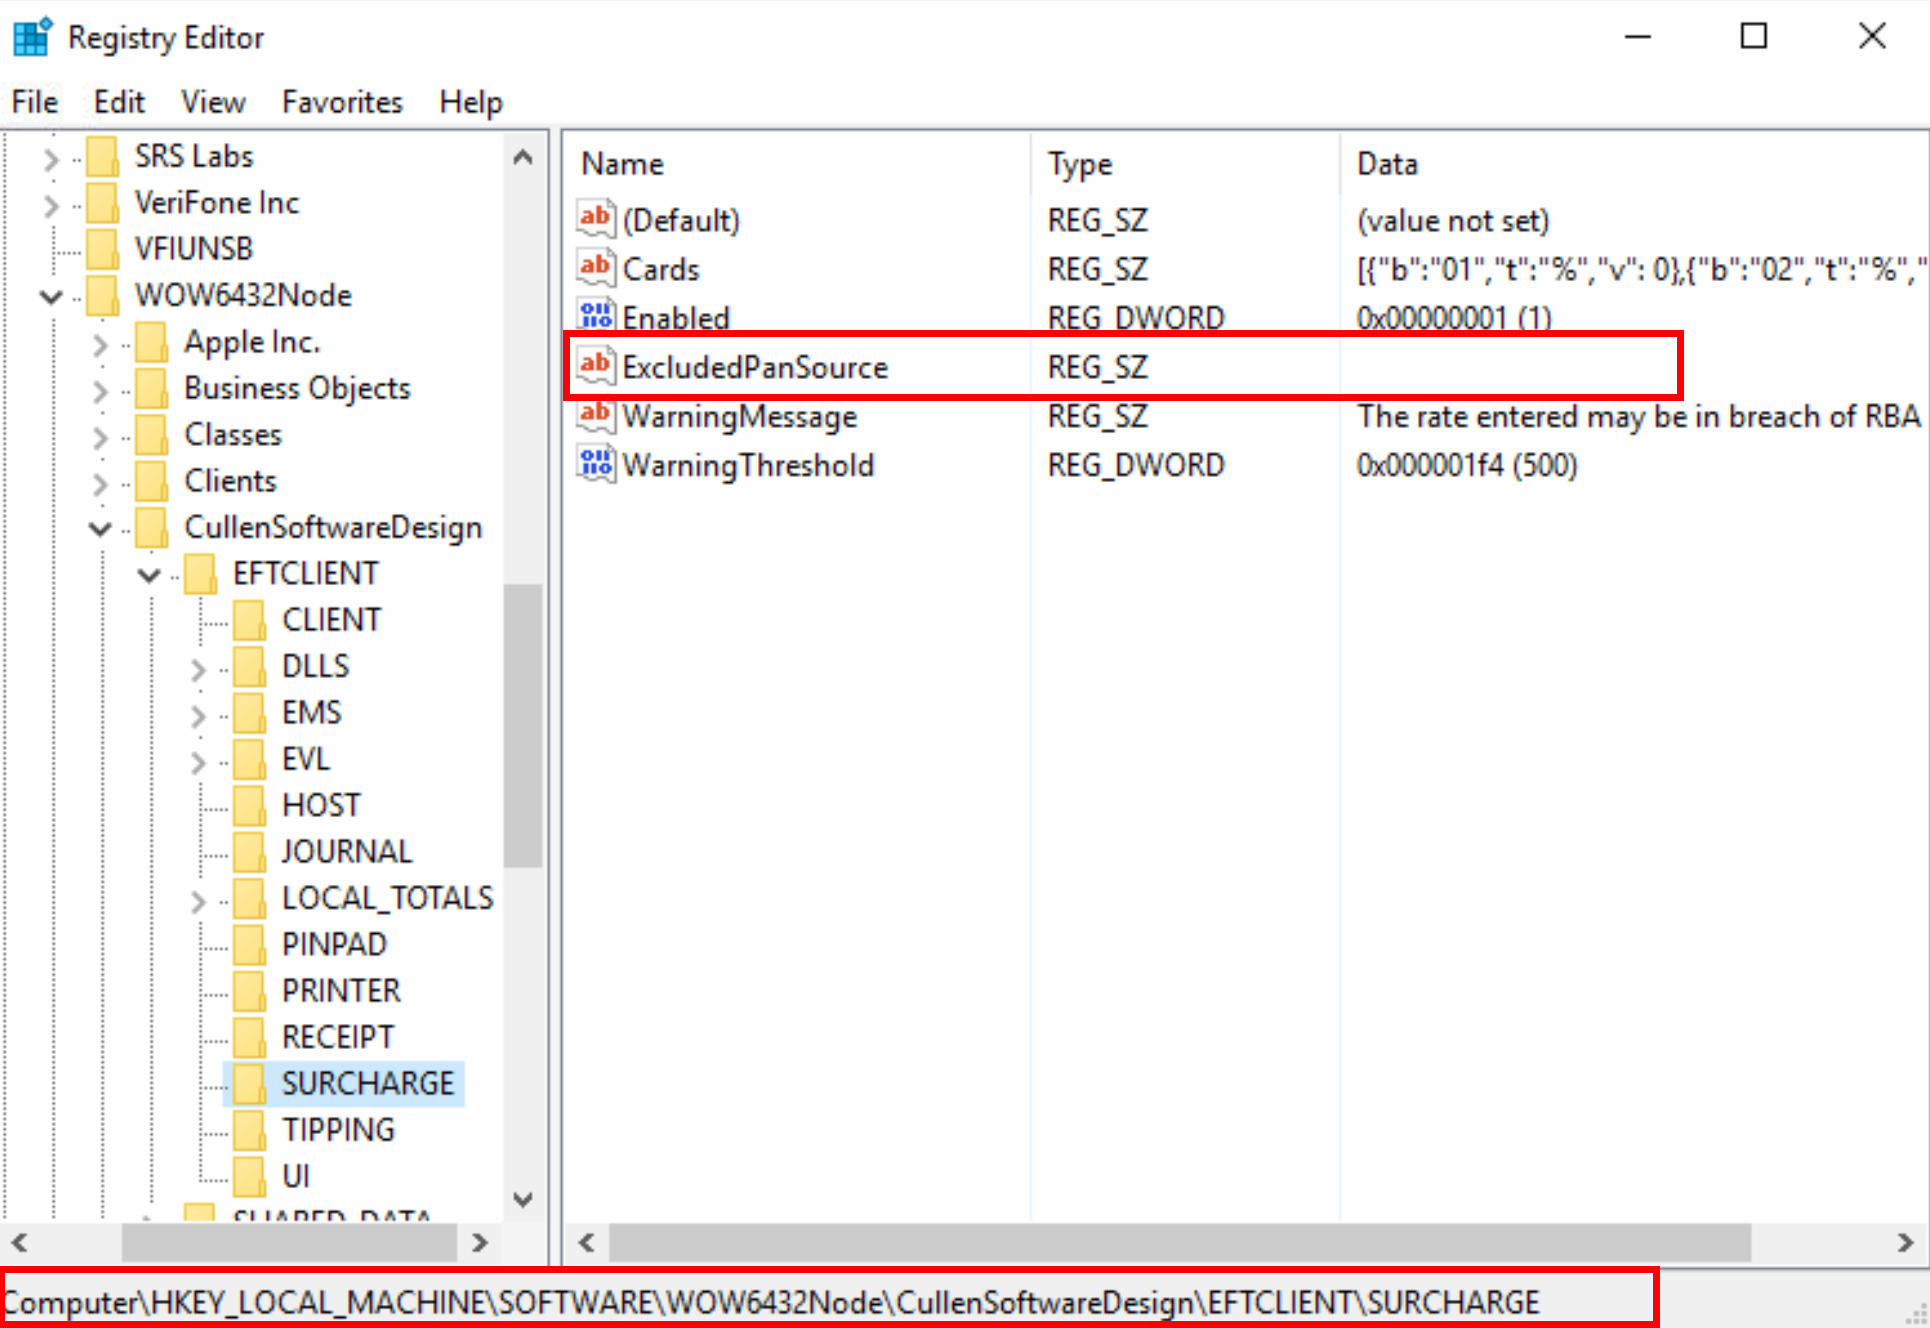
Add support for MOTO surcharges.
Add a new String value to ‘HKEY_LOCAL_MACHINE\SOFTWARE\WOW6432Node\CullenSoftwareDesign\EFTCLIENT\SURCHARGE’ labelled ‘ExcludedPanSource’ with the value being blank (not a space value but just blank).
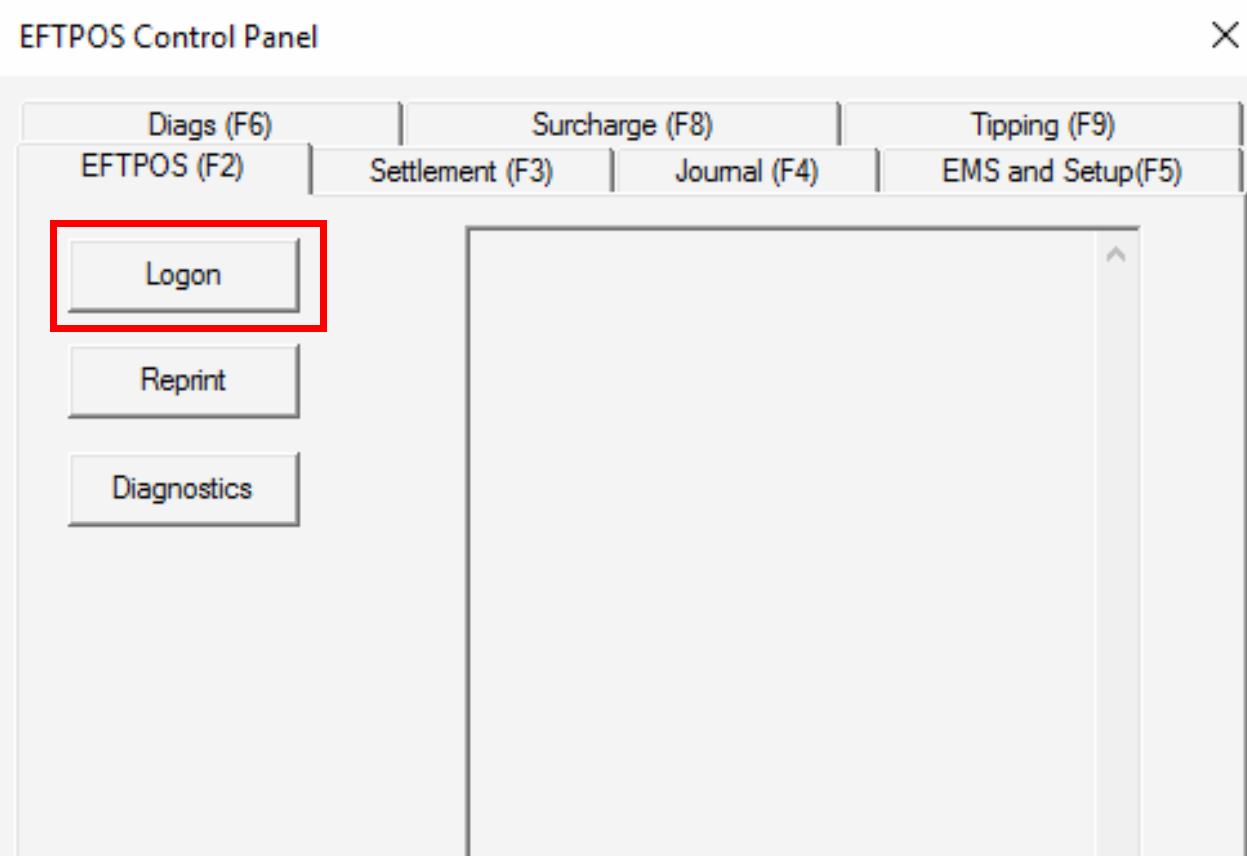
Restart the Linkly Client Service and logon.

Idealpos Configuration (version 8 build 15 for higher is required)
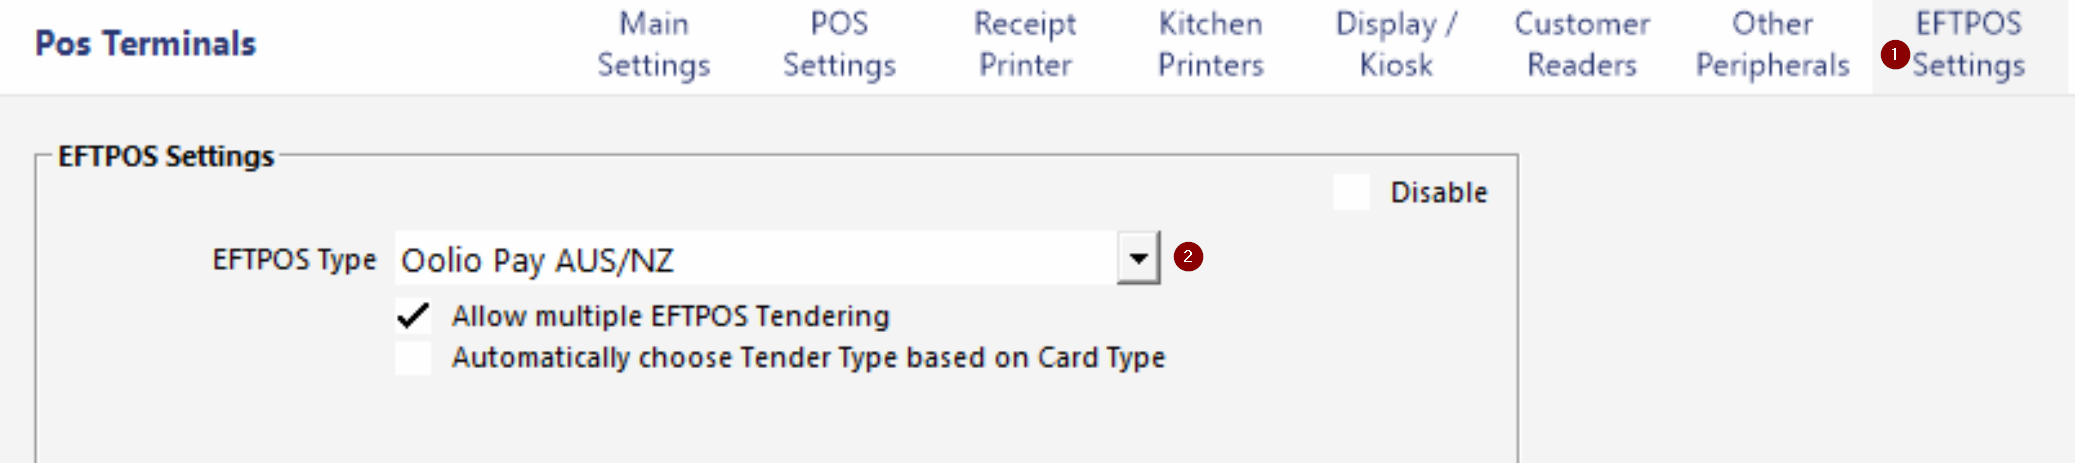
- Ensure POS is licensed for Oolio Pay AUS/NZ

- Set POS Settings-> EFTPOS setting-> Eftpos Type = Oolio Pay AUS/NZ
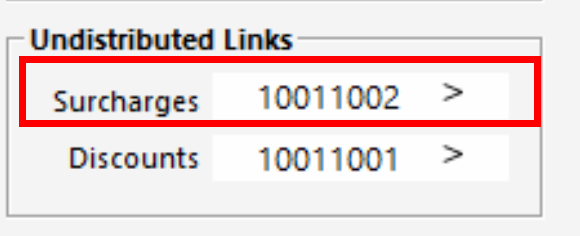
- Map surcharge to stock item in global options
- Global Options->Sales
Scripted Install
The linked zip file contains the installation batch and executables that install the proxy and Linkly then open the Linkly Control Panel and perform a Logon.
- Extract the contents of this zip folder to C:\IdealposFiles\Linkly. (This is normally already on terminals staged by the install team)
- Download the latest version of Linkly and add it to the same directory.
- Run as Admin the P400.bat file.
- If the PINPAD is connected and everything works as expected, it should result in a connected PINPAD with all the above steps completed except the WIN 11 fix as our terminals aren't WIN 11.