Configuring the TP-200 Printer as a Serial Network Printer in Idealpos
Solution provided by Jack
Note (14 Feb 2020): Recently, we have had difficulty in using this Solution to install the TP-200 as USB or Serial. The printer appears to be working, but a reboot (or possible another factor) causes the Serial port of the printer to change, which stops the printer from working. We currently recommend using Ethernet to connect this printer.
As of 7 Jan 2020, the TP-200 printers we sell are configured as USB printers and can be connected as a Windows Shared Printer. Although this is an out of the box solution, it is somewhat limited in Idealpos.
As an alternative, the following steps can be used to configure the printer so it can be used as a Network Printer in Idealpos.
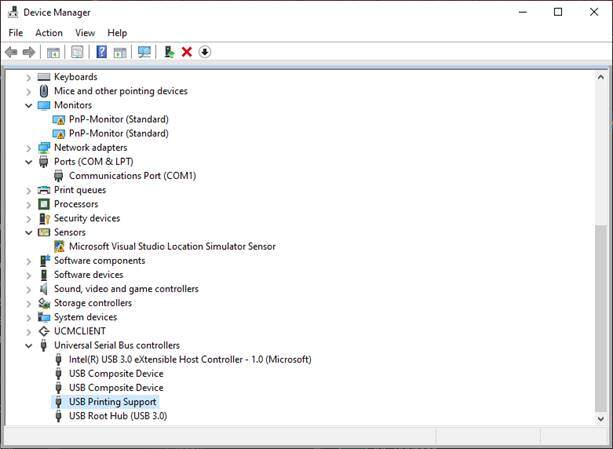
1. Plug in the Printer and attach to the POS terminal. It should be recognized in Windows as a USB printer, or in device manager, a driver for USB printing support will be added:
2. Download the firmware BIN file from the following link (you will use this later):
https://drive.google.com/file/d/1S6wyGNU5dhQPN0pzfLlqBhe7Ou9qE541/view?usp=sharing
3. Download and extract the TP200 PrinterTool.zip folder from the following link:
https://drive.google.com/file/d/1iQ_NGQn-k2iuitrWDowEx6ttGdQP0-aQ/view?usp=sharing
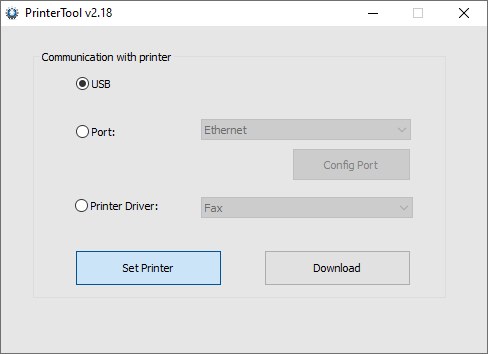
4. Run PrinterTool.exe. In Communication with printer, select USB:
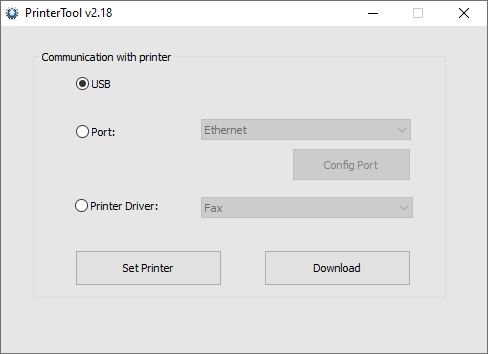
If USB is not available, you can either select Port > Ethernet, or set up the printer through windows printers and then select in the drop down box.
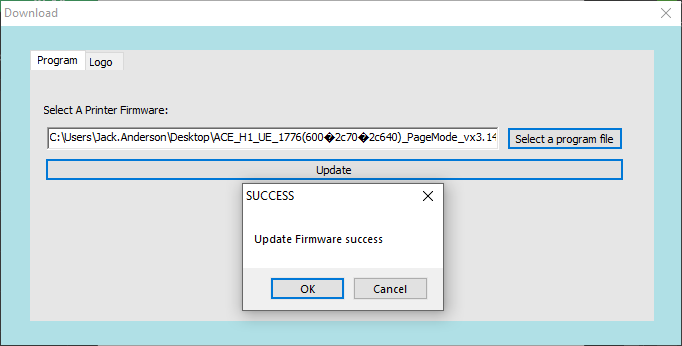
5. Press Download. The Download window displays.
6. Press Select Firmware. Browse to and select the BIN file you downloaded in Step 2, and press Open.
7. Press Update. The Success message displays:
8. Download the PL2303 zip file from this link:
https://drive.google.com/file/d/1-VcjrHixDm91Pd7l-GgM4pJCOdiLfXro/view?usp=sharing
9. Open the zip file and run PL2303_Prolific_DriverInstaller_v1.10.0.exe.
10. Back to the PrinterTool.exe program, close the Download page and then select Set Printer:
11. This will display the Set Printer configuration:
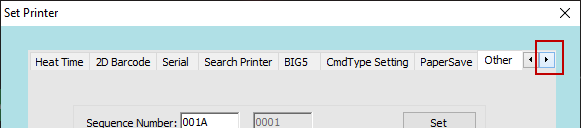
12. Scroll the tabs to the right and select the Other tab.
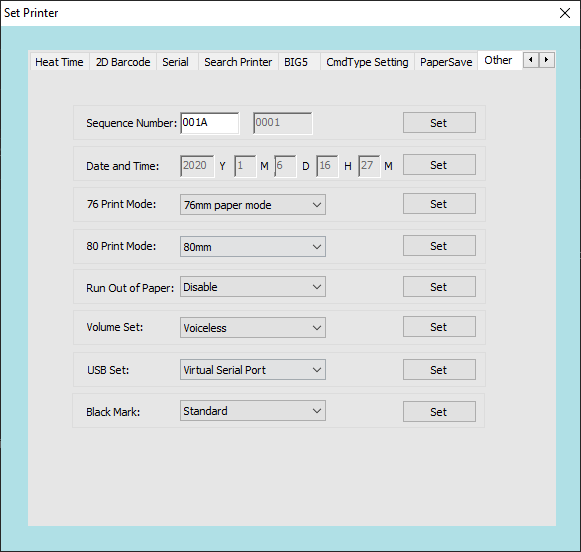
13. Check that volume set is Voiceless and press Set.
14. Change the USB Set to Virtual Serial Port and press Set. When Set is pressed, the Printer will turn off and will need to manually be turned on.
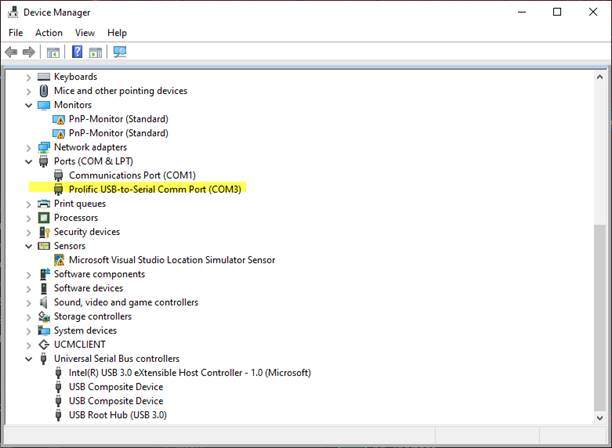
When the printer is back on, it should display in Device Manager in Ports as Prolific USB-to-Serial Comm Port (and should no longer be in Universal Serial Bus controllers as USB Printing Support: